 LoftOS Knowledge Base
Working with Entries
Browsing Entries
Access your module from the main navigation to browse entries.
View Options
Switch between different views using the view selector:
- Card View: Visual grid layout
- List View: Compact list
- Map View: Geographic display
- Table View: Data table
- Feed View: Social media style
- Kanban View: Board-based interface
On a Kanban board with swimlanes, the column headers stay pinned to the top while you scroll, so you can always tell which column you are looking at on a long board.
Filtering Entries
Use filters to narrow down entries:
Keyword Search: Enter search terms in the search box
Attribute Filters: Use filter dropdowns for specific attributes
Label Filters: Filter by labels
Date Filters: Filter by creation or update date
Clear Filters: Reset all filters to see all entries
Sorting Entries
Click column headers (in table view) or use sort options to reorder entries.
Pinning Entries
Platform admins and super admins can pin any entry to always show it at the top of the module overview, regardless of the active sort or filter settings. This is useful for highlighting featured content or keeping important entries permanently visible.
How to pin an entry:
- Grid, Tile, List, Feed layouts: Open the entry's context menu (⋯) and select "Pin". The entry will move to the top of the overview and display a pin icon next to its title.
- Table layout: Use the Pin action in the dedicated action column at the right of each row.
To unpin, open the same menu and select "Unpin".
💡 Pinning is only available when viewing the module in its own dedicated page. It is not available when the module is embedded inside a group, event, or view. Pinning is also not supported in Map and Kanban layouts.
Creating Entries
Adding a New Entry
Steps:
- Navigate to your module
- Click "+ Entry"
- Fill out all sections:
- Enter required information
- Upload files and images
- Select options from dropdowns
- Add platform content links
- Save the entry
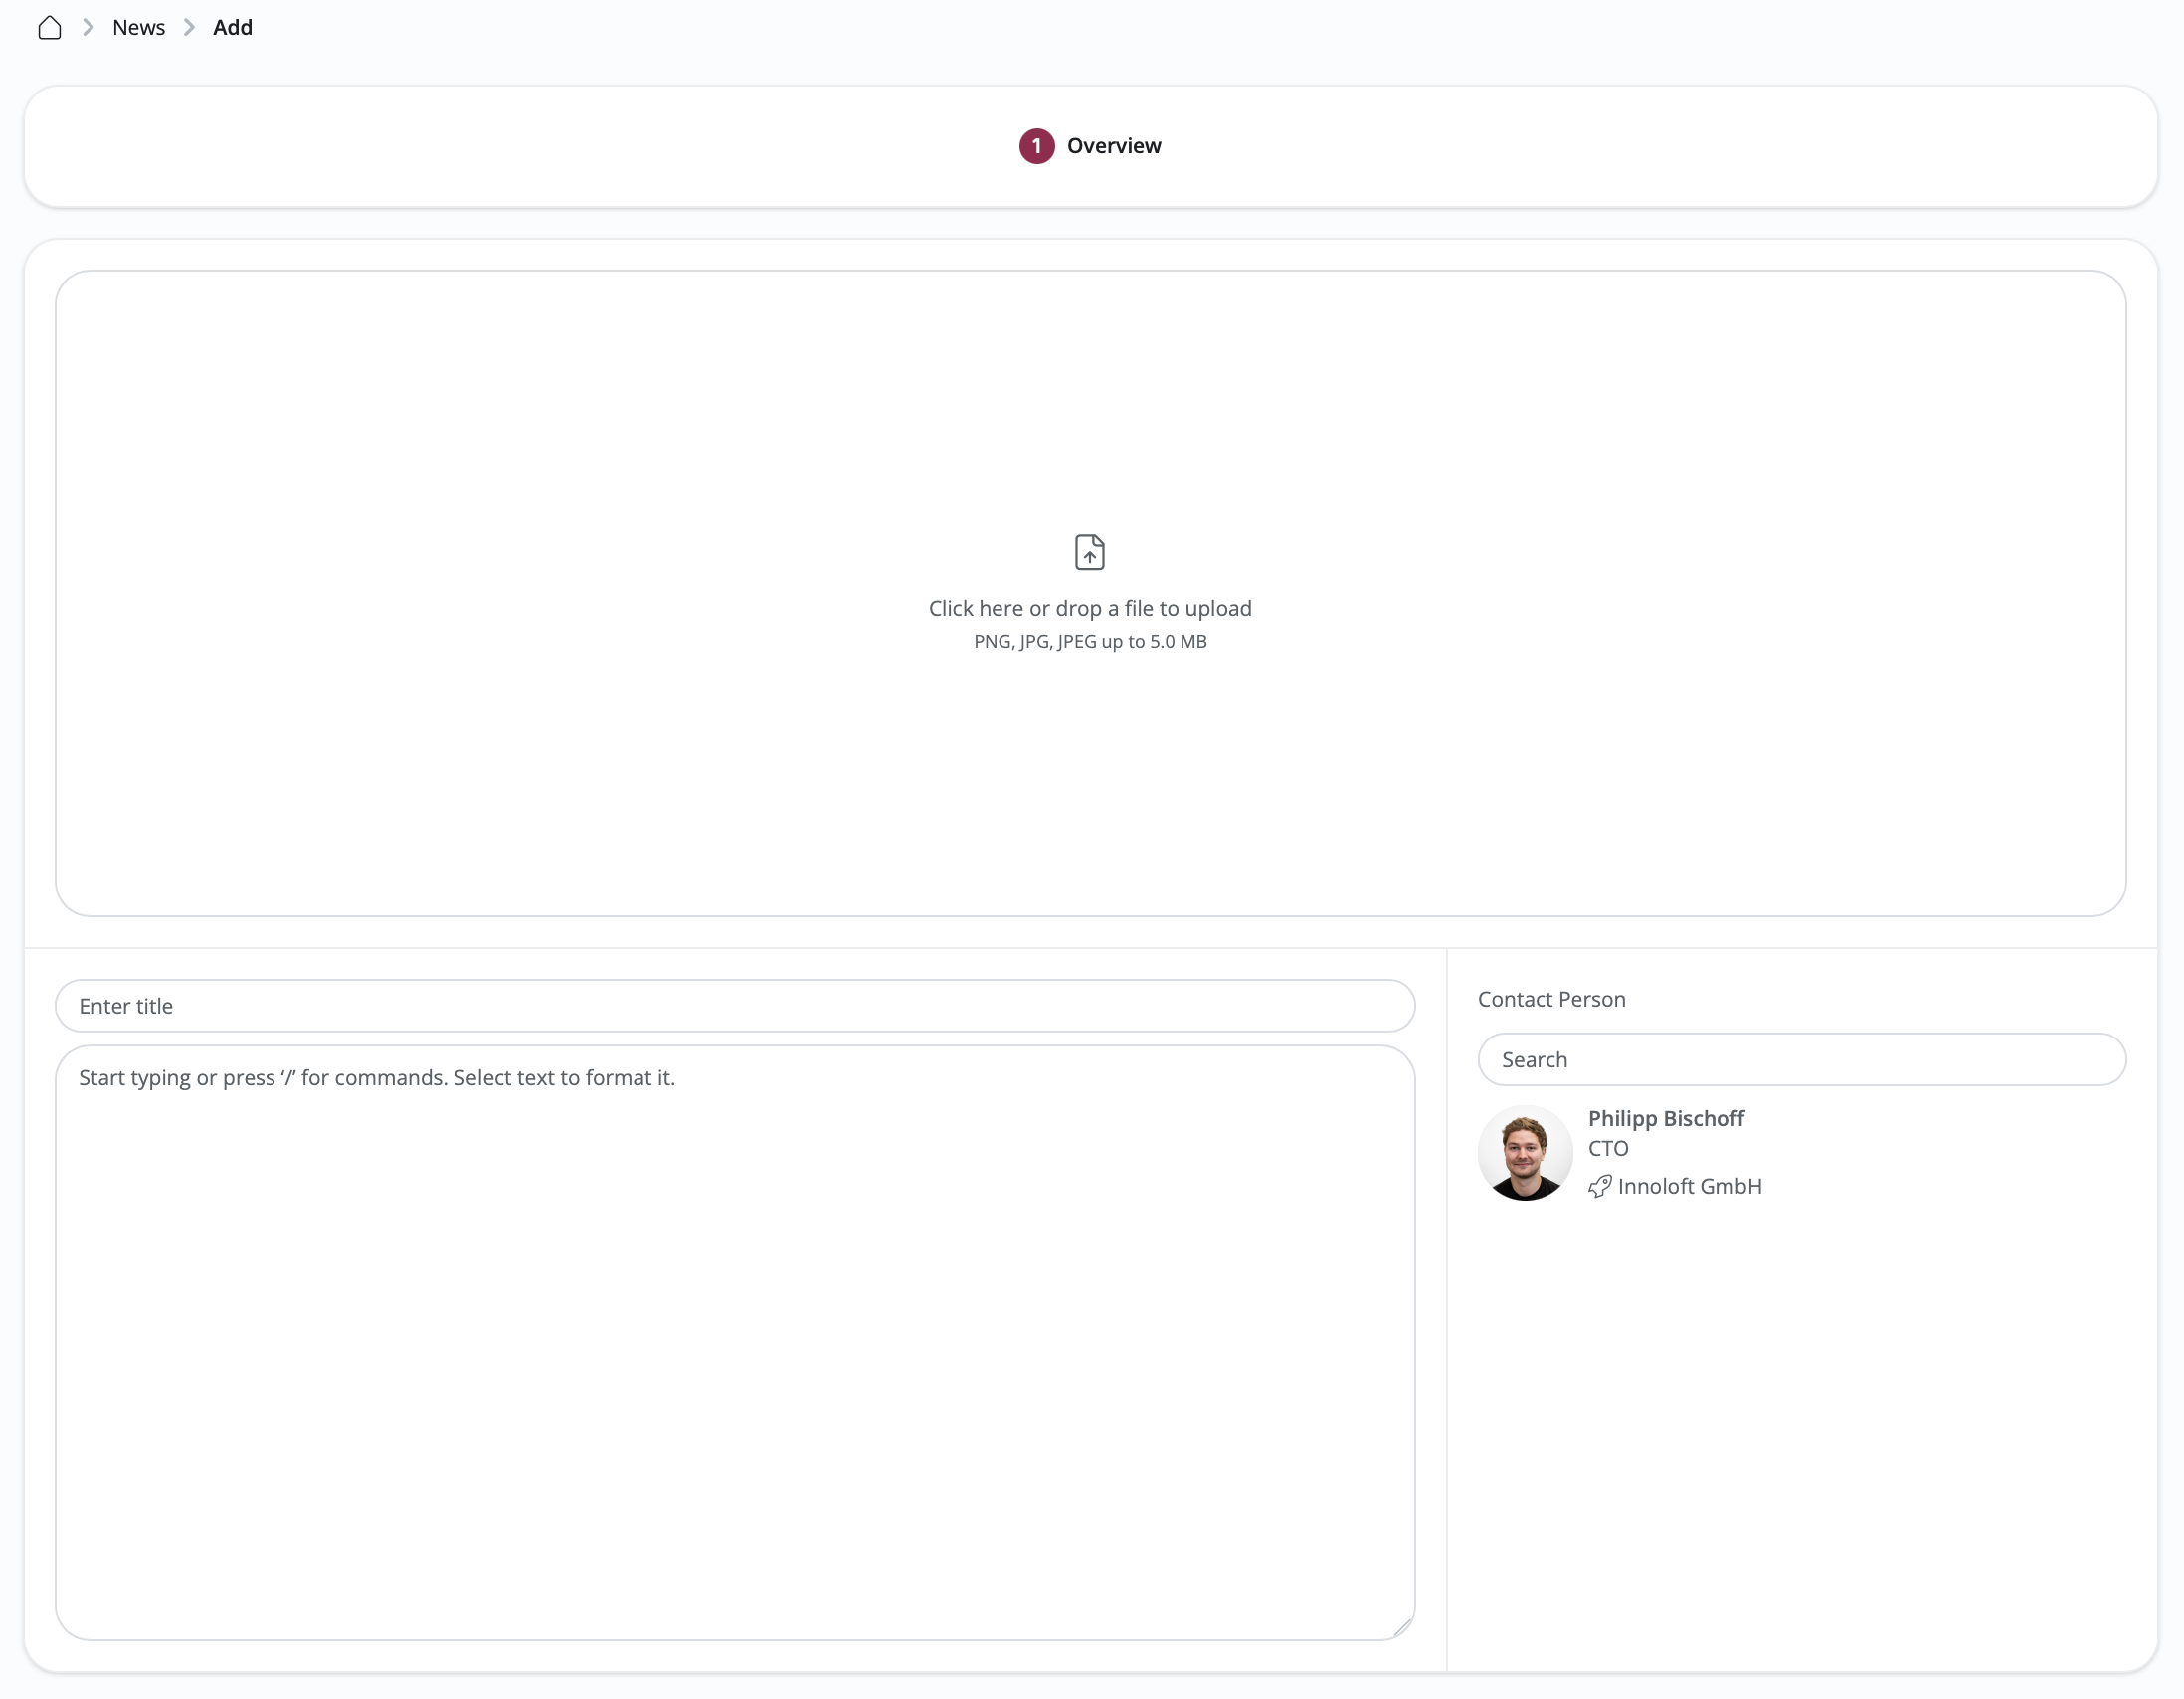
Entry Sections
Header Section: Basic information and main image
Custom Sections: Module-specific fields you configured
Content Blocks: Rich text and images
Documents: File attachments, folders, and external links. Word, Excel and PowerPoint files open in the online editor rather than downloading, and you can create blank Office documents from the add menu.
Platform Content: Links to specific user databases, organization databases, custom modules, or views
Tabs: Where your administrator has grouped sections into tabs, switch between them at the top of the entry. Tabs you aren't allowed to fill in appear read-only, and tabs with nothing to show are hidden.
Saving and Publishing
The entry header carries the save actions, so they stay reachable no matter how far down the form you have scrolled.
- Save keeps your work. A draft saves at any time, even with required fields still empty, so you can stop and come back.
- Save and publish saves first and then publishes — but only once every required field is filled.
If something is missing when you publish, the entry does not go live. Instead you are taken straight to the first missing field: the form opens the tab or step it lives on, highlights it, and places your cursor in it. Every other missing field is highlighted at the same time, so you can see the full list of what's left.
On the add form you can move freely between steps without filling them in order, and jump back to whatever is blocking publication.
Tips for Creating Entries
- Required Fields: Marked with an asterisk (*)
- Rich Text: Use formatting toolbar for styled text
- File Uploads: Drag and drop or click to browse
- Platform Content: Search and select from existing content
- Save Draft: Save incomplete entries to finish later (if enabled for the module)
- Publish Button: Click the publish button (which may be custom-labeled by your administrator) to make your entry live
Managing Your Entries
My Entries Overview
Access your entries by clicking "My Entries" in the module.
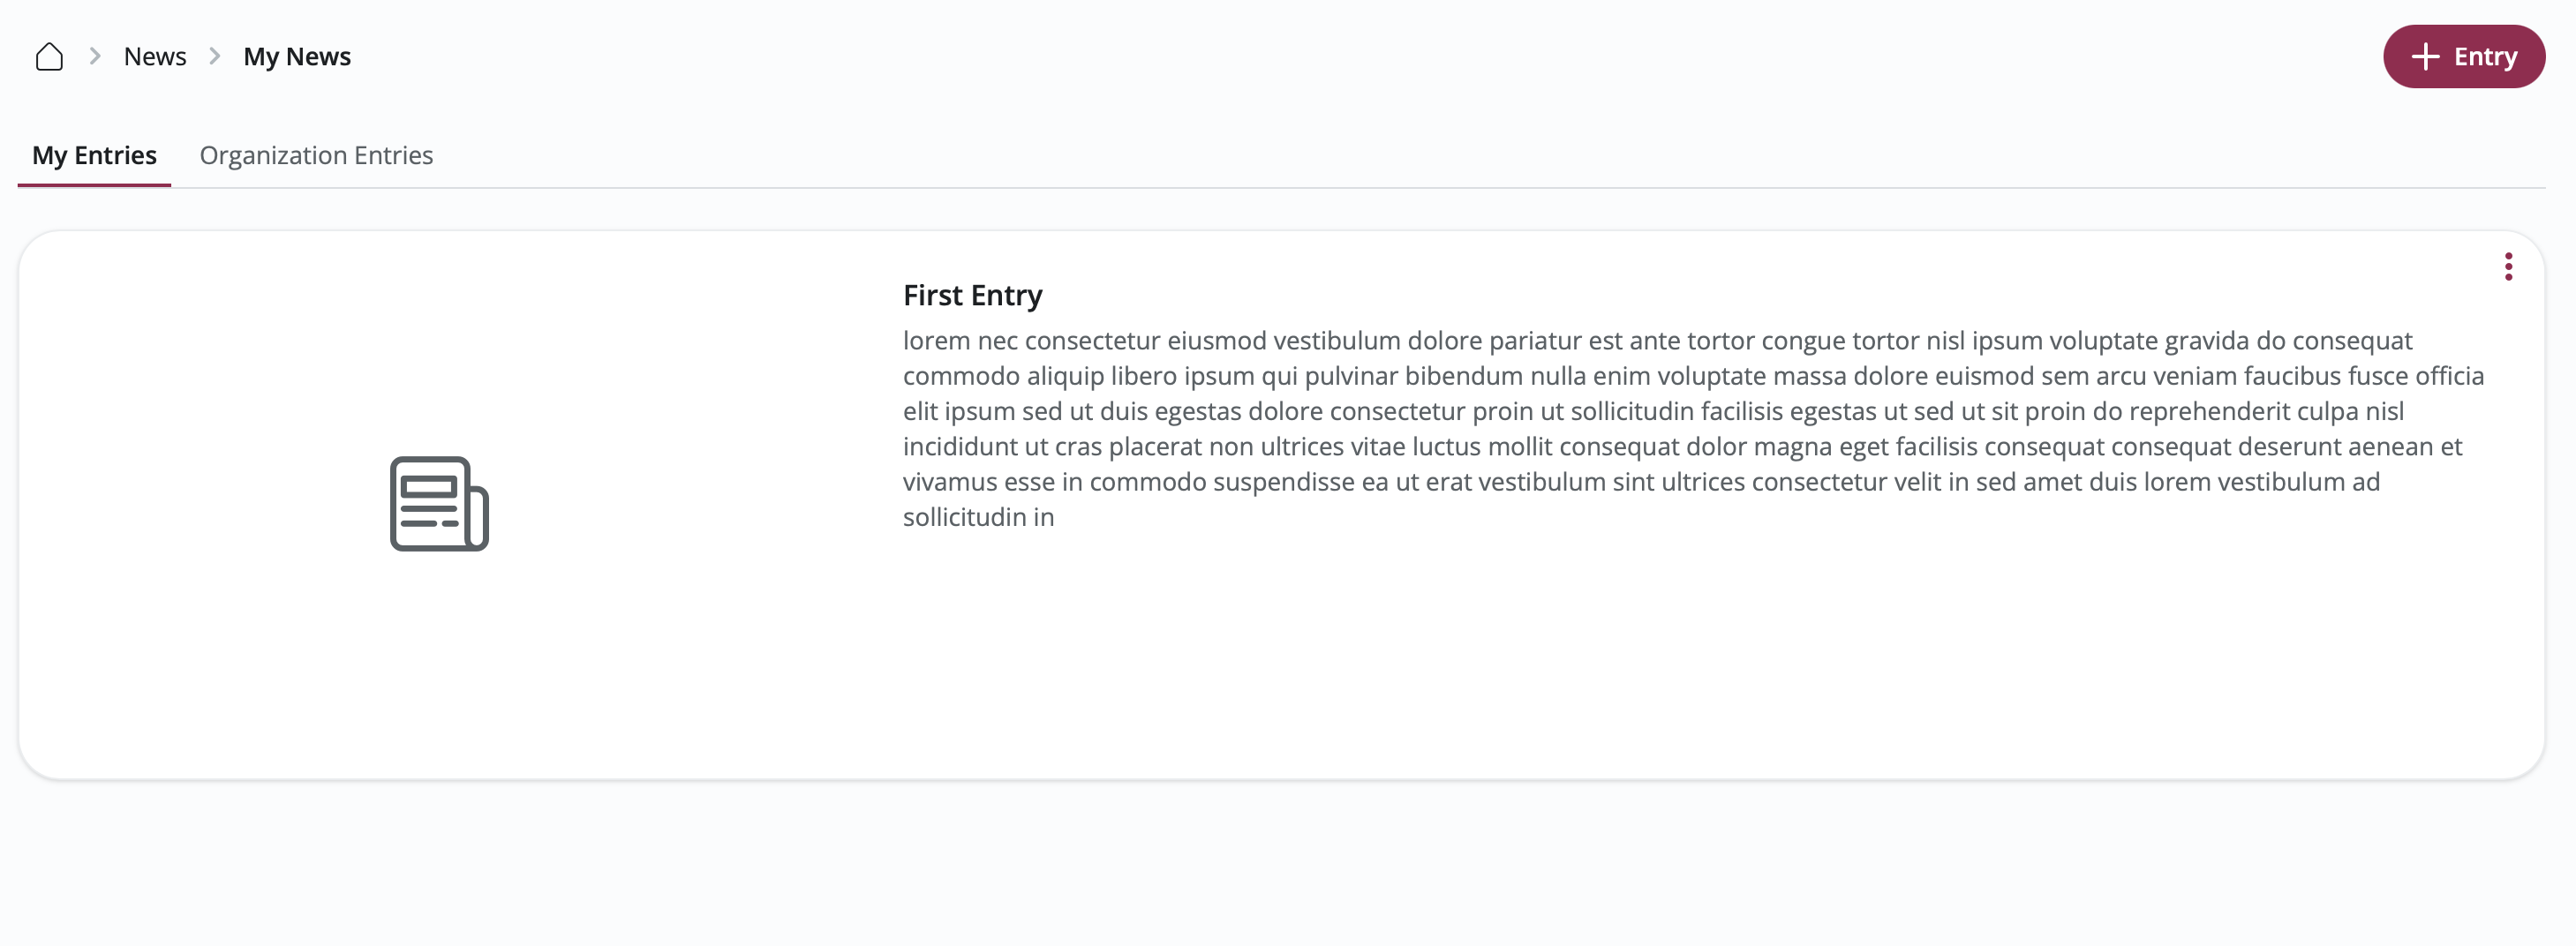
Tabs:
- Entries: All your created entries
- Matches: Entries matched with you (if matchmaking enabled)
- Submissions: Form submissions on your entries
Editing Entries
Steps:
- Go to My Entries
- Click the edit icon on an entry
- Modify any section
- Save changes
Entry Status
Active: Entry is visible to others
Draft: Entry is hidden from others
Toggle Status: Click the activation toggle in My Entries
Viewing Entry Analytics
If enabled by the module administrator, entry owners can see how their entry is performing by opening it in edit mode and navigating to the Analytics tab:
- View count
- Interaction count
- Match count (if applicable)
- Submission count (if forms enabled)
Managing Matches
If matchmaking is enabled for your module:
View Matches: See who has matched with your entry
Review Details: See why your entry was matched
Contact Matches: Message matched users
Managing Form Submissions
View and respond to form submissions on your entries:
View Submissions: See all submitted forms
Review Details: Read submission content
Accept/Reject: Approve or decline submissions (if workflow enabled)
Connect to Pipeline: Move submissions to a pipeline for further processing
Interacting with Entries
Viewing Entry Details
Click on any entry to see its full details:
- All sections and content
- Contact information (if enabled)
- Interaction buttons
- Related content
Submitting Forms
If an entry has a form interaction:
Steps:
- Click the form button on the entry
- Fill out all questions
- Upload any required files
- Submit the form
After Submission:
- Receive confirmation
- Track submission status
- Edit submission (if allowed)
- View response (if provided)
Following External Links
If an entry has an external link interaction:
Steps:
- Click the link button on the entry
- You'll be directed to the external URL
Contacting Entry Owners
If contact information is enabled:
Steps:
- View the entry
- Find the contact section
- Click to send a message or view contact details