👥 Groups
The Groups module enables the creation of "sub-networks" within a platform, facilitating collaboration among users. It offers features such as document sharing, group chats, specific events, marketplaces, and news tailored to each group's interests. Users can either manage consortia or join specialized interest groups. This fosters increased interaction on the platform, adding significant value for users by enhancing engagement and facilitating meaningful connections.
💼 Usage (Group Admin)
Create and Edit a Group
- Navigate to the Groups section. If you can't find it in your navigation, check your Navigation settings to ensure that the Groups module is enabled.
- To create a new group, click “+Group”.
- To edit an existing group, navigate to the group's page and click the “Edit” button in the header.
The group editor is divided into three main sections: Editor, Members Management, and Settings.
Editor
In the Editor tab, you can manage the group's basic visual identity and content:
- Header Image: Upload a high-quality image (1280x720px recommended) to represent the group.
- Name and Subtitle: Provide a clear name and a brief subtitle.
- Description: Use the rich text editor to describe the group's purpose.
- Content Blocks: Add further content modules such as images, text, or videos by clicking “+Add another content block”.
Settings
In the Settings tab, you can configure how the group operates:
- Basics: Manage the group logo and deletion options.
- Navigation: Customize the group's internal navigation menu to tailor the group experience and guide members to the most relevant content and tools. Edit your Group, click the Settings tab, and locate the Navigation section to manage the following:
- Reorder & Hide: Rearrange the order of the navigation items or hide default sections that aren't needed for your group.
- Pages: Create and attach rich, custom sub-pages (e.g., "Group Wiki", "Rules") specifically dedicated to your group.
- Custom Modules & Views: Seamlessly embed specific Custom Modules or Views directly into the group navigation. This allows members to browse custom data and tools without leaving the group context.
- External Links: Add navigation tabs that link directly to external resources or partner platforms.
- Access:
- Only Business User: Requires users to be affiliated with an organization.
- Require Complete Organization: Users must have a filled-out organization profile.
- Access After Approval: Toggle whether the group is free to join or requires an application process.
- Show Modules to Non-Members: Control visibility of group content for those who haven't joined yet.
- Hidden Group: Make the group private so it's only accessible via a direct link.
- Member Document Upload: Allow or restrict document uploads by members.
- Link to Program: Connect the group to a specific program on the platform.
- Application Form: If "Access after approval" is enabled, you can build a custom application form with specific questions for prospective members.
Members Management
Navigate to the Members Management tab within the group edit view to manage participants:
- Members: View a list of all current members. Here you can appoint organizers (admins) by toggling the "Organizer" switch or remove members if necessary. You can also export the member list as a CSV file.
- Invitations: Invite new members by e-mail or by searching for existing platform users. You can track the status of sent invitations and resend them if needed.
- Applications: If your group requires approval, review pending membership requests here. You can see answers to application forms and either accept or reject applicants.
Note: Group members can only see other group members if their roles allow it. For example, if the default role doesn't permit visibility of members on the platform, members won't be able to see other group members within their own group either.
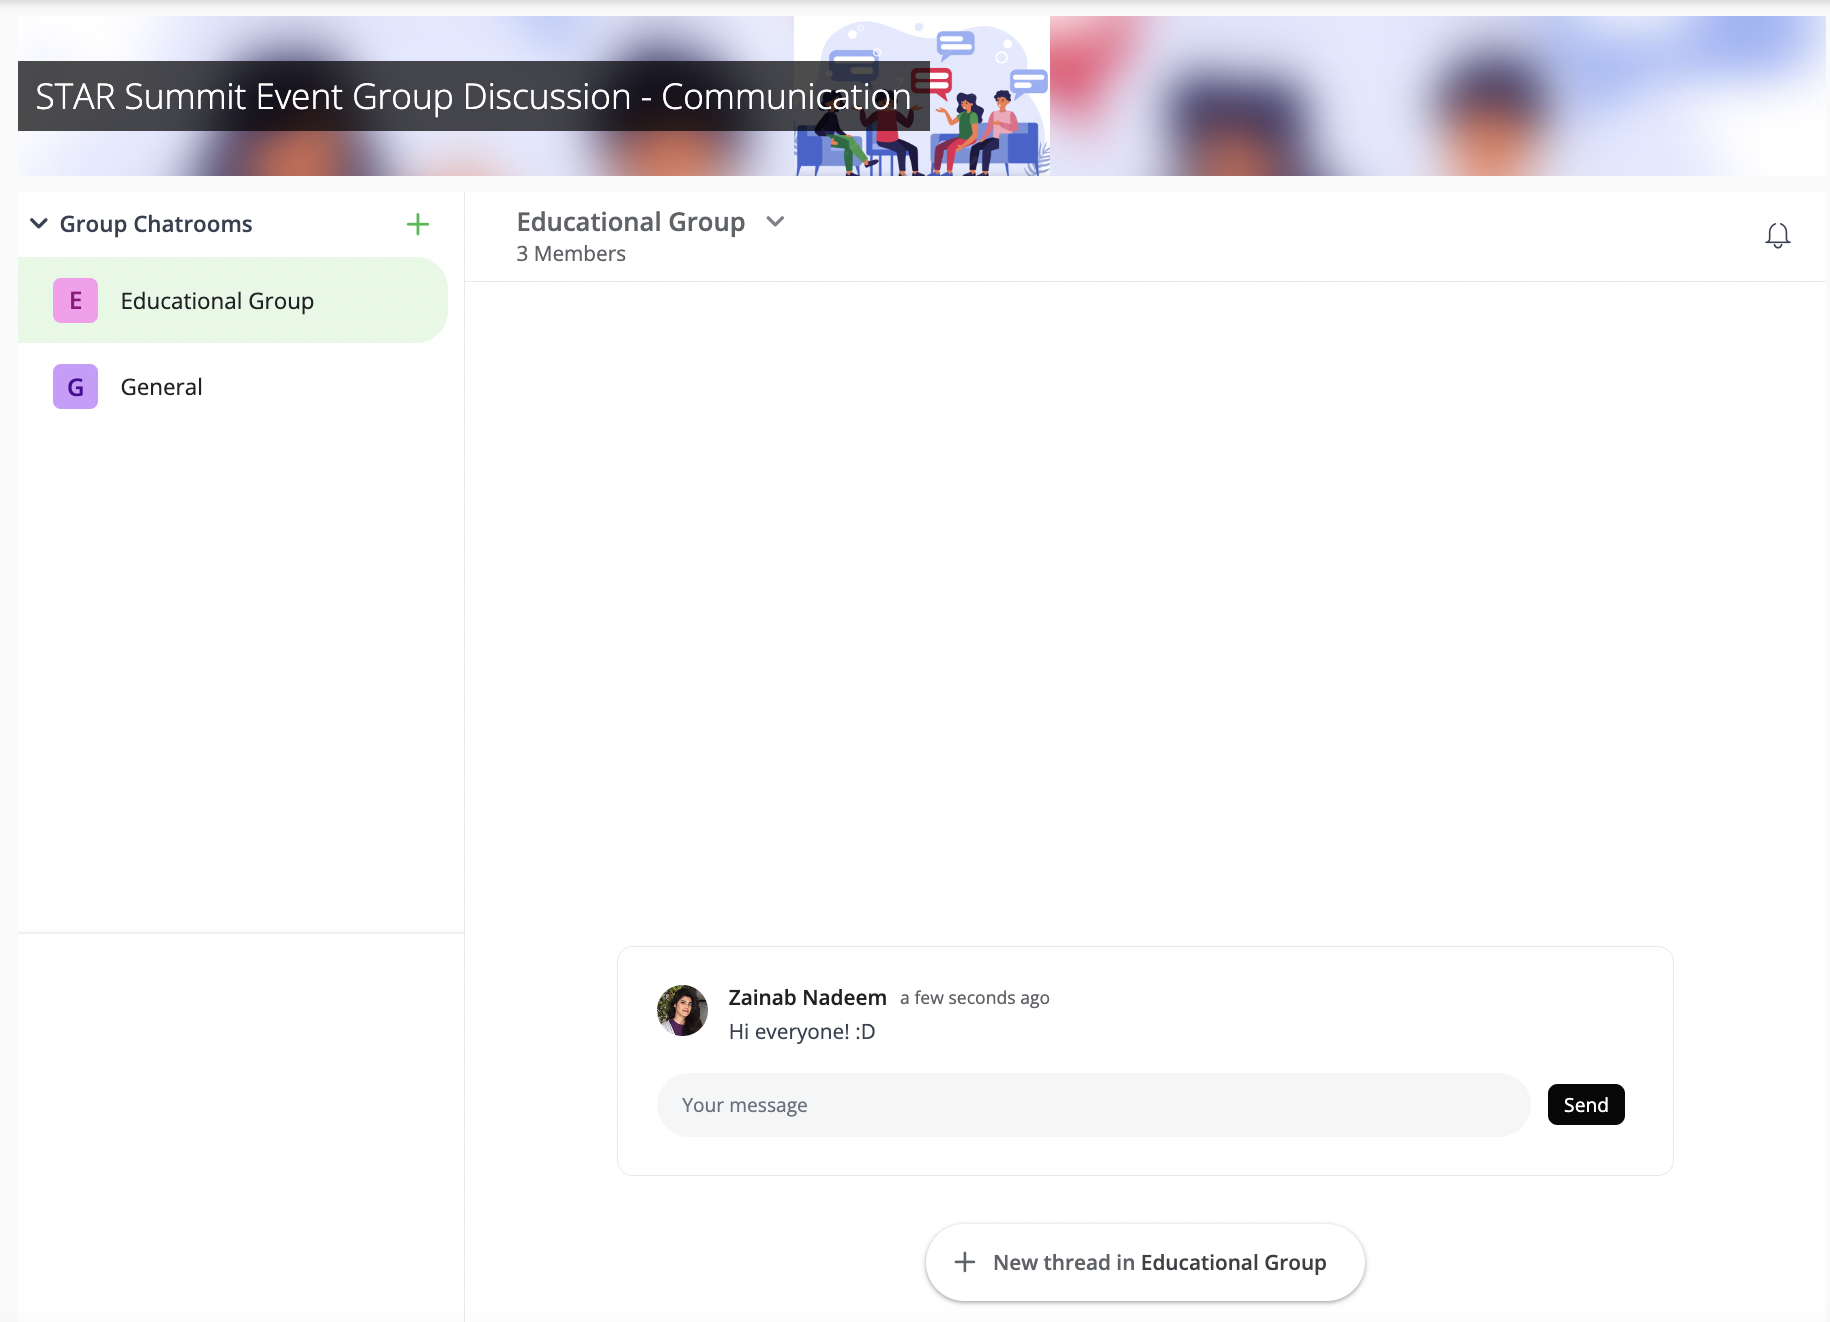
Communication within Groups
Under the communication section of the Group, you can create Group chatrooms to have general discussions or discuss topics related to the Group. To create a chatroom:
- Click the “+” icon.
- Select “Create chat room”.
- Name the chat room to provide users with an idea of its purpose.
- Search for people to add to the chat room.
- Optionally, enable threaded replies if you wish to use them.
Announcements within Groups
The Announcements section provides a dedicated space for sharing important updates, news, and information with all Group members. Group admins can control who has permission to post announcements and members can engage with announcements through likes and comments.
Posting Announcements
- Navigate to the "Announcements" section within your Group.
- Click on the text field that says "Add an announcement...".
- Write your announcement using the rich text editor. You can format text, add links, and structure your content.
- Click "Save" to publish your announcement to all Group members.
Managing Announcement Settings
Group admins can configure announcement permissions:
- In the Announcements section, click the settings icon in the header.
- Toggle "Only admin can post announcements" to restrict posting privileges to Group admins only.
- Click "Save" to apply your settings.
When this setting is enabled, only Group admins can create new announcements. When disabled, all Group members can post announcements.
Interacting with Announcements
Group members can engage with announcements in several ways:
- Like announcements to show appreciation or agreement
- Comment on announcements to start discussions or ask questions
- View who liked an announcement by clicking on the like count
Group admins have additional options:
- Edit announcements they have posted
- Delete announcements to remove outdated or incorrect information
- Disable comments on specific announcements if needed
Notification Subscriptions
Members can choose to receive notifications when new announcements are posted:
- In the Announcements section, click the notification bell icon in the header.
- Toggle the subscription on or off based on your preference.
When subscribed, you'll receive notifications whenever a new announcement is posted to the Group.
Organizations, News, and Events within Groups
The Organizations section displays all organizations to which the Group members belong. Additionally, News and Events associated with the Group are showcased in their respective sections if they were selected and linked to the Group during the creation process.
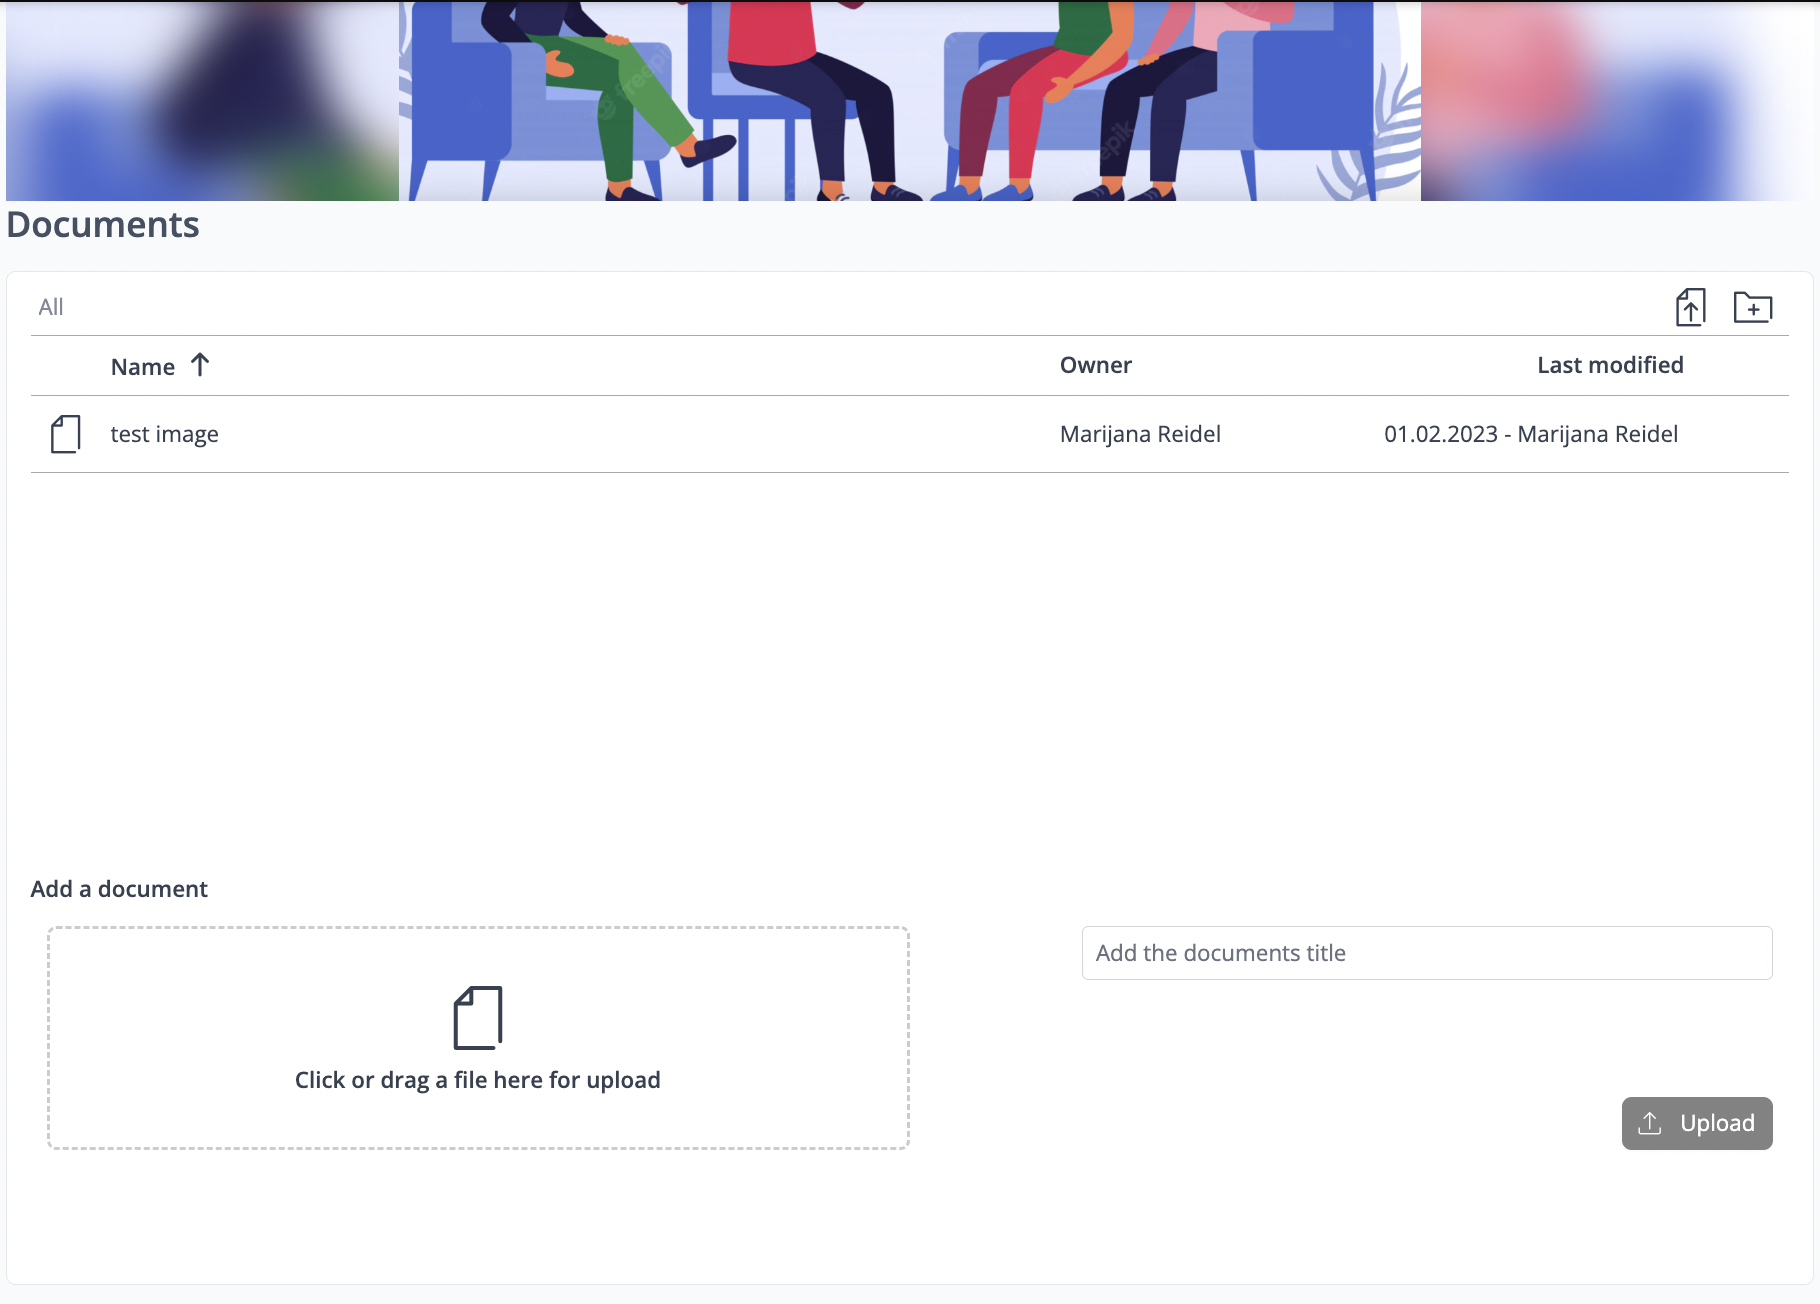
Documents within a Group
In this section, members can manage files, links, and documents. You can upload files, add external links, and create folders and subfolders to categorize and organize everything efficiently. You can also drag and drop items to reorder them and download files directly from the group.
Modules in a Group
It's possible to add modules to group. Here, the admin can select which modules should be available in the group navigation. Additionally, admins can choose a mode for the modules: "Manual" or "Automatic".
- Manual Mode: The users can manually add entries to the module within the group.
- Automatic Mode: All entries created by group members in the respective module will automatically appear
👋 Usage (Users)
Browsing the Groups Database
The Groups overview provides a comprehensive and flexible way to discover communities on your platform:
- Multiple Layouts: You can switch between different layout options to suit your browsing preference: Tiles, Stretched cards, or a compact Table view.
- Advanced Filtering & Search: Easily search for specific groups or use the advanced filter options to narrow down the list based on specific group attributes or categories.
- Improved Empty States: If a search yields no results, or if there are no groups yet, the platform provides clear messaging and, if you have the necessary permissions, a prompt to create the first group.
How can I join a group?
If you've received a group invitation via e-mail, simply follow the instructions provided in the e-mail to accept it. Alternatively, you can accept the invitation by visiting the Invitation and Verification Center. To do so, open the navigation menu located in the top right corner and click on "Invitation Center". Then, navigate to "Groups" and approve the relevant invitation.
If you wish to join a Group without receiving an invitation, you can do so by accessing the Groups overview. Search for the desired Group and click on it. Depending on the group's access settings, you will see one of the following buttons:
- Join: For groups with open access.
- Apply: For groups requiring approval. Clicking this will either submit your application or open an application form for you to fill out.
- Verify Organization: If the group requires you to be part of a verified organization first.
Once you have applied, you can track the status of your application on the group's page.
Keep in mind that some Groups may be hidden and won't appear in the Groups overview.
❓ FAQs
- What size and format should the Group cover image be? The image should be in PNG or JPG format, 1280 x 720 px (16:9 aspect ratio) not exceeding 5MB in size.
- Can I have Group-specific Events? Yes, this is possible when you create an Event. During the last step of the Event setup, select the desired Group and turn the toggle on for “list Event only in selected Group”.
- Can I have Group-specific module entries? Module entries can be assigned to one specific Group if the admin added the module to the Group navigation. When creating a new module entry, users can select the desired Group in the “Groups” section.
- How can I set up an Event exclusively for my Group? To create a Group-specific Event, you must have administrative privileges for the Group. Navigate to the Events section within your group's navigation and create a new event there.