🗄️ Import Export Data Management
The Import feature simplifies data migration, fully supporting your Organization and Custom Modules data. Upload your CSV or Excel files, map the fields, and watch your platform come to life with your information.
👩🏻💻 Usage
Uploading Organization data
- Select the data you wish to import by first creating a file in XLS, XLSX, or CSV format (up to 5MB).
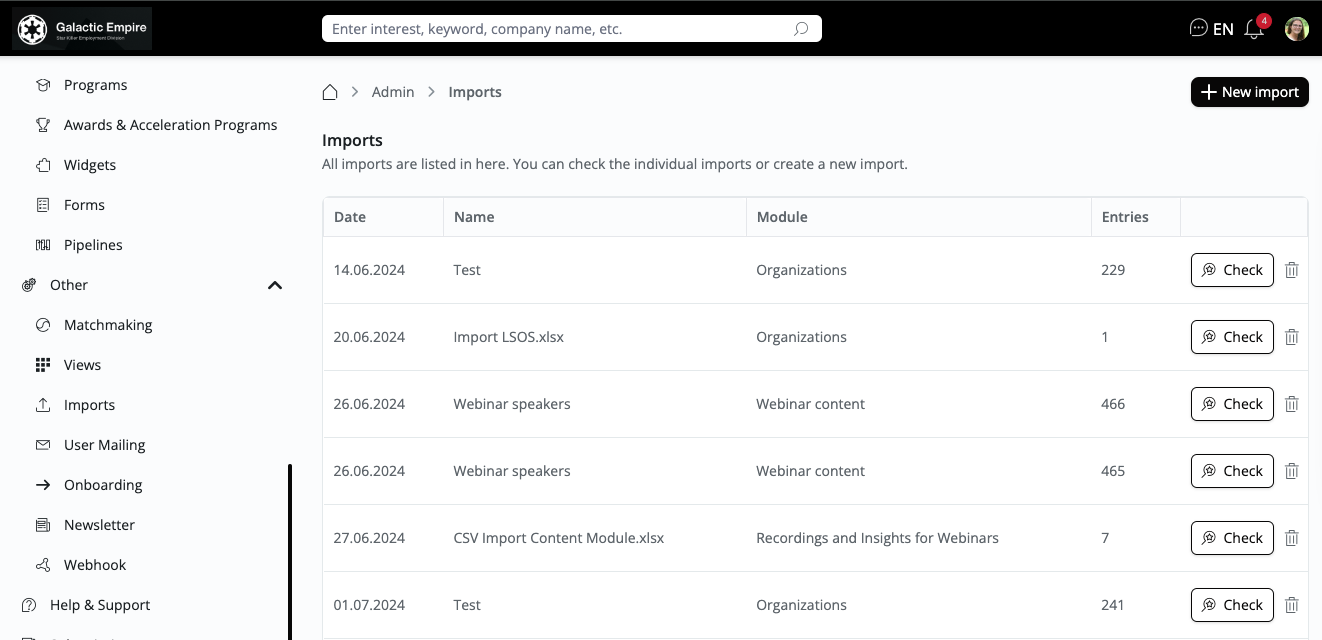
- Navigate to the Imports section from the navigation bar.
- Click on "+New import".
- Name your upload.
- Upload your file in XLS, XLSX, or CSV format (up to 5MB).
- Optionally toggle 'Does the upload file have organization data' to open if your data contains organizational data.
💡 For privacy protection reasons, downloading member data is not possible.
- Click "Next".
- Assign the relevant Attribute or select 'Ignore this column'.
- Once all Attributes are set, choose the organization type from the drop-down menu and click "Upload".
If the upload button is greyed out, you may have missed selecting or ignoring an Attribute. Please check your columns.
Your import has been mapped. Now, merge duplicate entries, delete unwanted entries, or edit entries. “Tick” the relevant Label and click "Save".
Click on the window with the arrow to see where your data has been saved.
Uploading Custom Module data
- Select the data you wish to import by first creating a file in XLS, XLSX, or CSV format (up to 5MB).
- Navigate to the Imports section from the navigation bar.
- Click on "+New import".
- Name your upload.
- Upload your file in XLS, XLSX, or CSV format (up to 5MB).
- Keep the toggle 'Does the upload file have organization data' closed when your data does not contain organizational data.
- Click "Next".
- Select the module where you want to import your data and click “Next”.
- Set the relevant Attributes and click "Upload".
If the upload button is greyed out, you may have missed selecting or ignoring an Attribute. Please check your columns.
Your import has been mapped. Now, merge duplicate entries, delete unwanted entries, or edit entries. “Tick” the relevant Label and click "Save".
Click on the window with the arrow to see where your data has been saved.
Export Organization data
- Log in as Admin
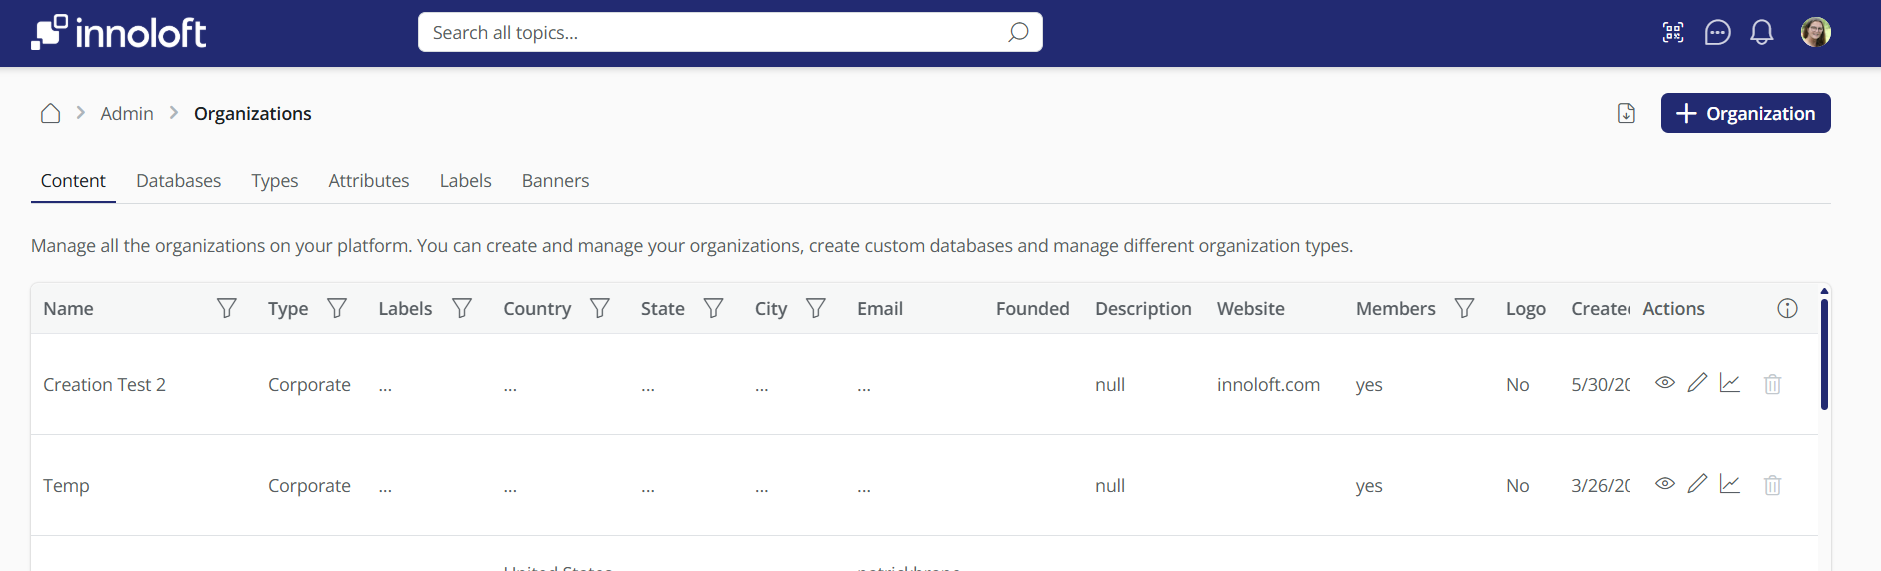
- Navigate to the “Organizations” Section
- Click on “Organizations” to access the list of all registered organizations.
- Find the Export Icon
- In the top right corner of the “Organizations” page, look for the export symbol (the icon that looks like a down arrow).
- Click the Export Icon
- This will trigger the export process.
- Download the CSV File
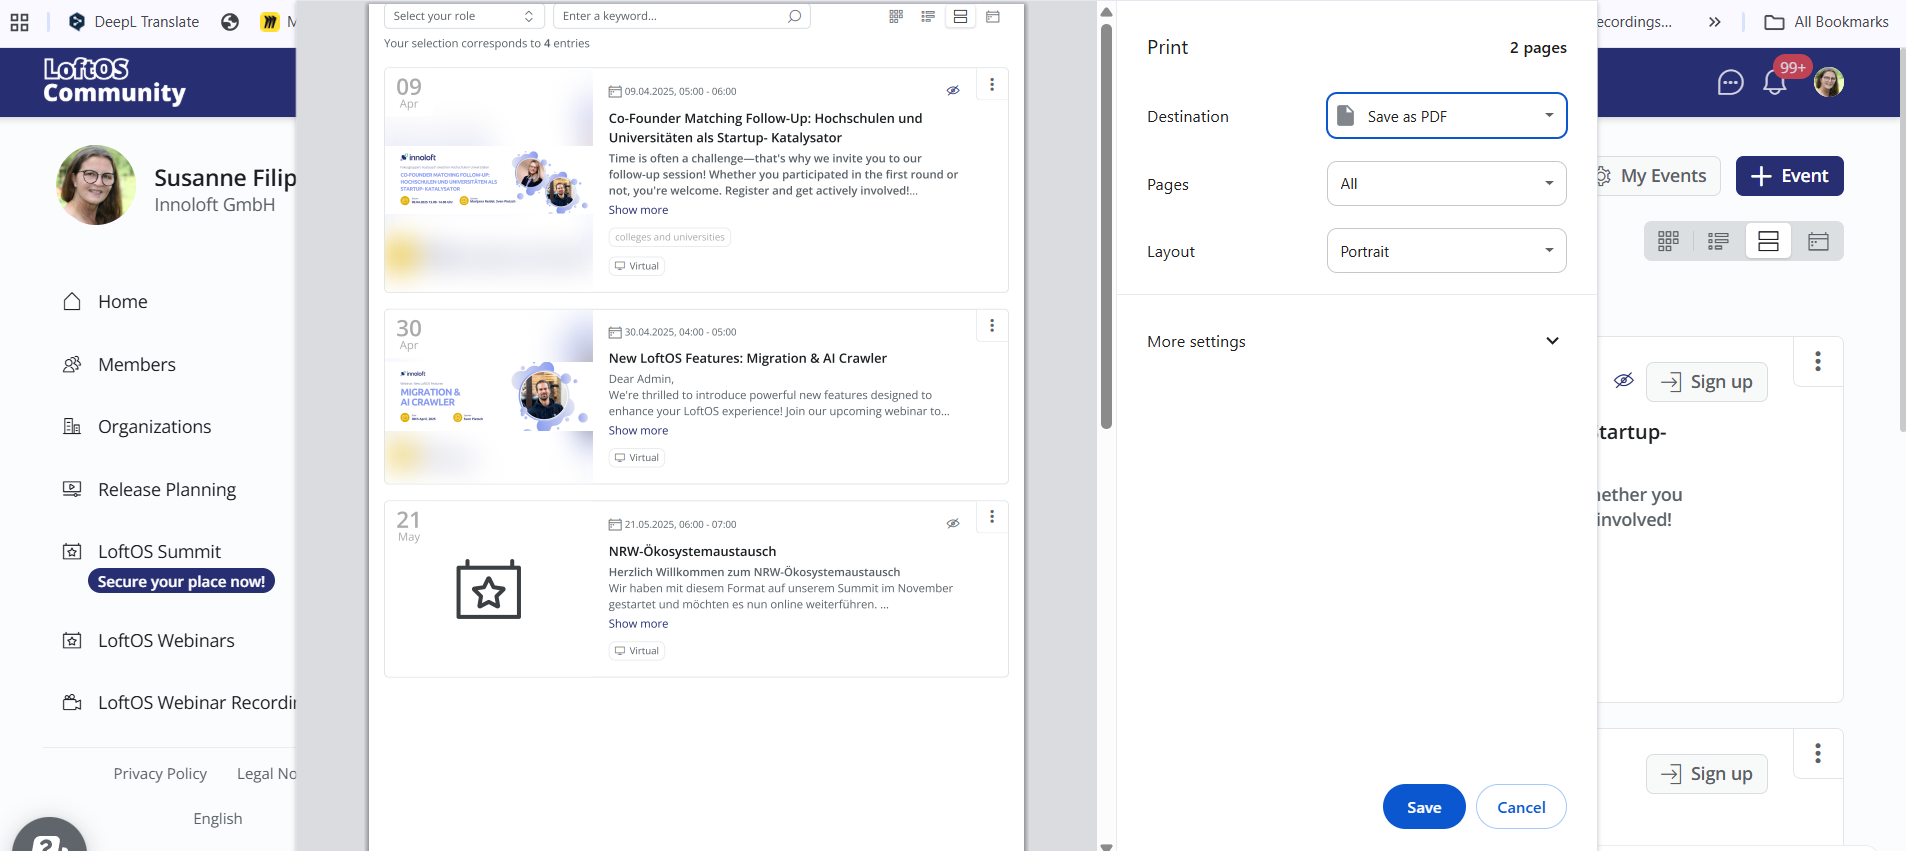
Export to PDF
The PDF export feature allows you to export content for printing or saving. Simply right-click on any screen of any page on a platform. The system will display only the content, excluding the navigation. Then, click **'Print'**and select 'Save as PDF' to export.
Ownership Tracking
The import function allows you to filter and assign ownership.
-
Entry Ownership Assignment
Assign a dedicated owner to imported entries either during or after the import process. This feature enhances traceability and facilitates task delegation among team members.
-
Enhanced Status Filtering
Updated status filters allow quicker sorting, making identifying and managing pending or completed imports easier.
-
Bulk Acceptance Workflow
Save time on large-scale imports by accepting or rejecting multiple entries in one go.
How to Get Started
- Access the Import Feature: Navigate to the Admin Area
- Assign Owners: During the import setup, use the dropdown menu to assign an owner to imported entries.
- Streamline Approvals: Leverage bulk acceptance to process entries in batches efficiently.
