🎓 Programs
💡 Introduction
The Programs module is a versatile tool designed to facilitate the creation and management of online learning programs within your platform. With this module, you can invite and enroll an unlimited number of participants into your Programs.
Programs can be structured with various levels, chapters, and lessons, allowing users to navigate through the content at their own pace. This flexibility enables users to focus on specific areas of interest and progress through the Program according to their individual learning objectives.
Each lesson within a Program can be enriched with diverse content types, including text, images, and videos. This multimedia approach provides users with a dynamic learning experience, enhancing their comprehension and retention of the material.
The Programs module serves a multitude of purposes for our customers. From broadcasting educational resources to facilitating mentorship programs and sharing company resources, the versatility of this module enables a wide range of applications within the community.
👩🏻💻 Usage
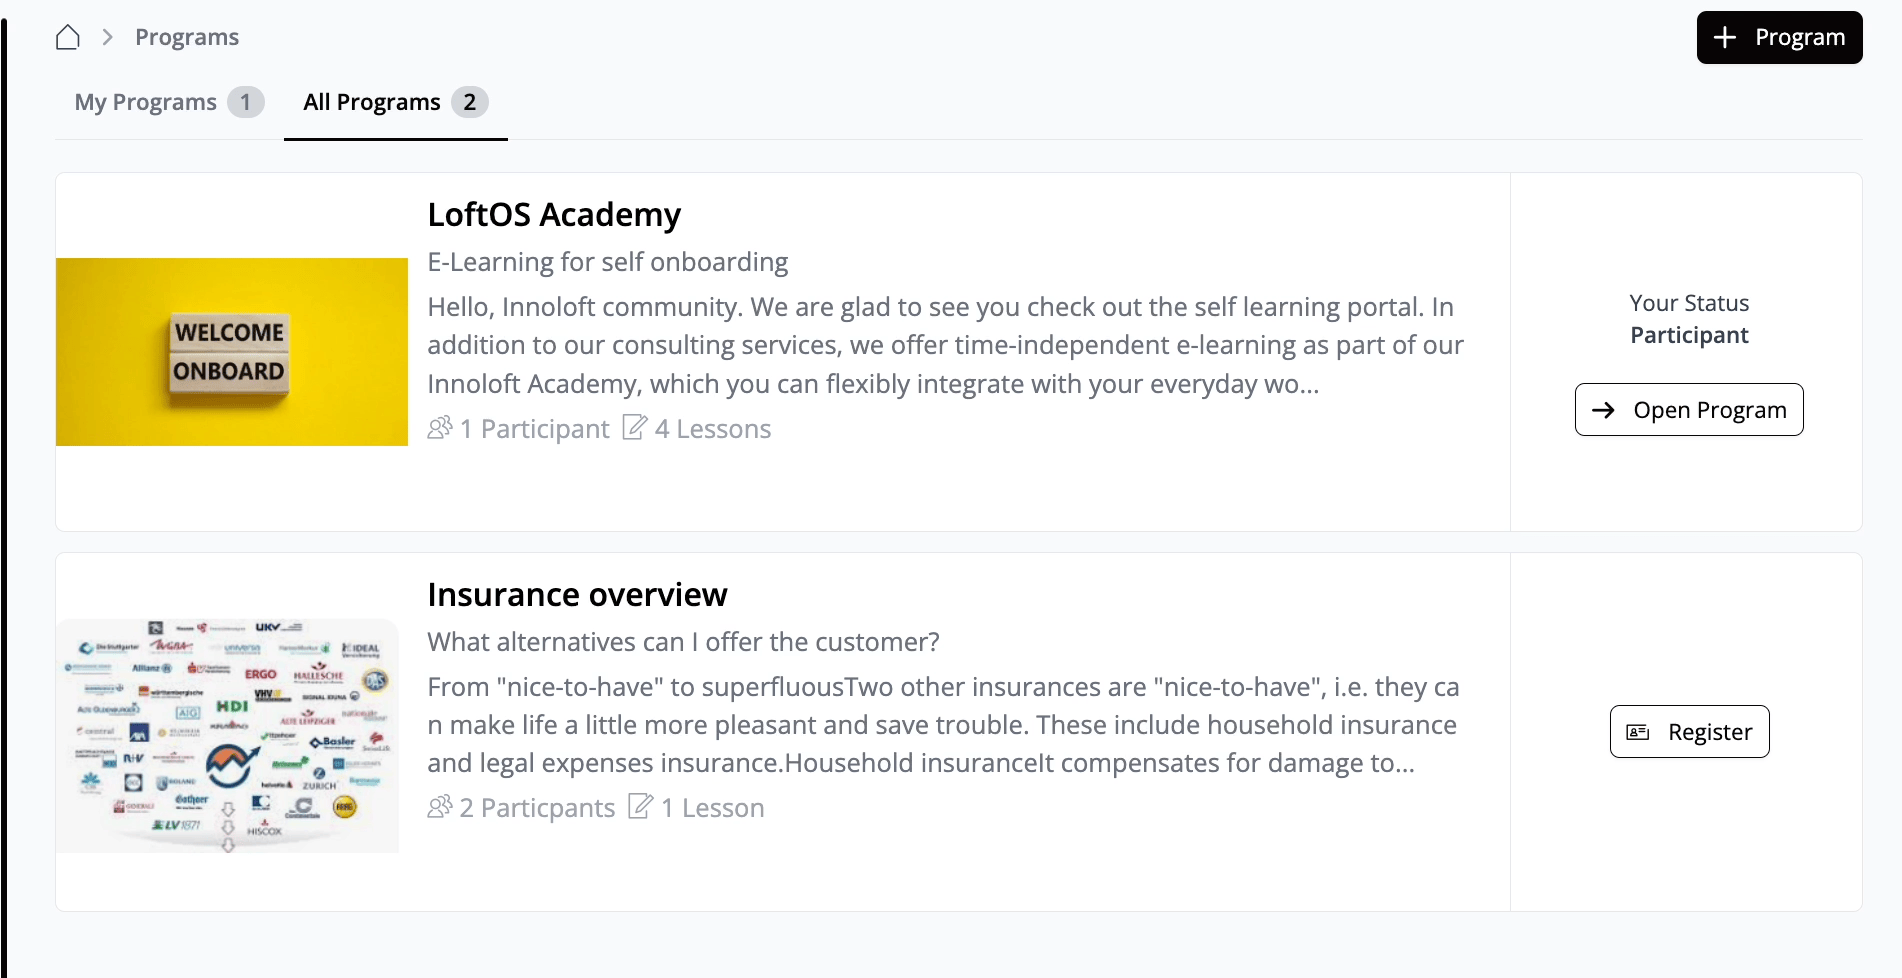
Register to the Program
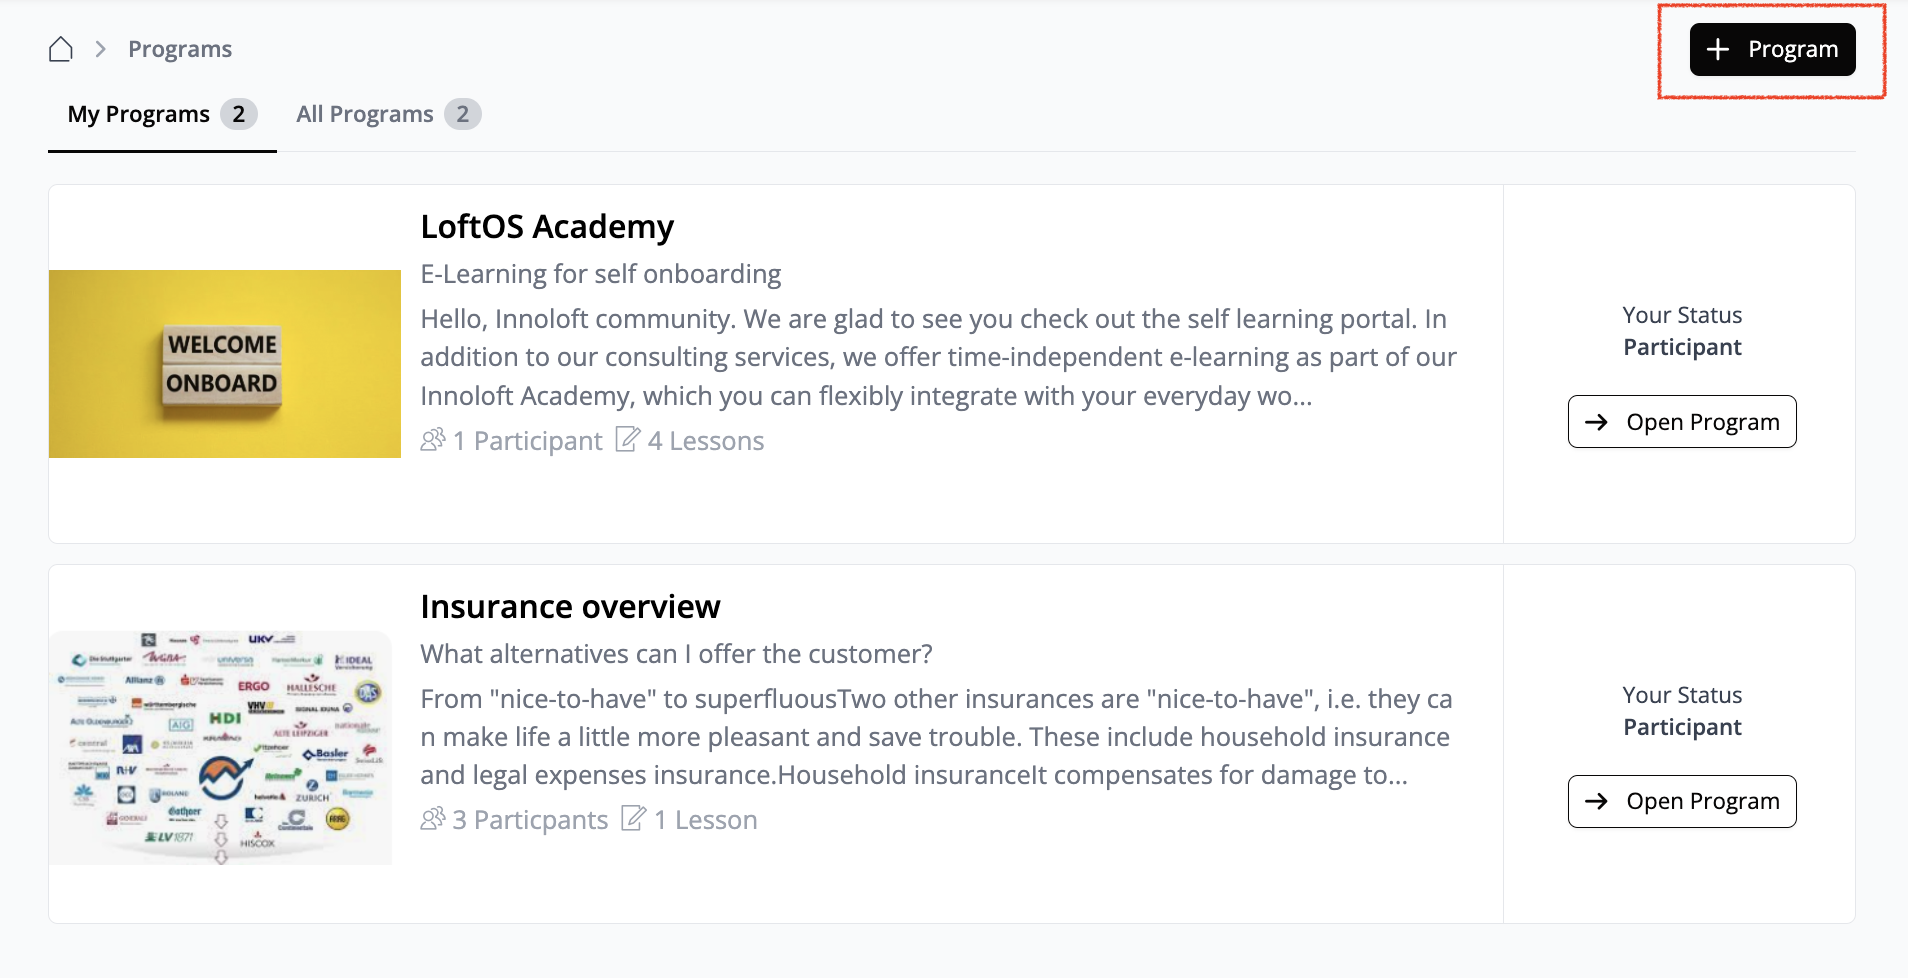
Registering for a Program is simple. Just click on the "Register" button to participate in the Program. Once you've registered, you'll gain access to the Program and all its lessons, allowing you to begin your learning journey.
Participate in a Program
On the left-hand side of your screen, you'll see the navigation menu. Click "Information" to access details about the Program. In the "Communication" section, you can engage in discussions with other participants.
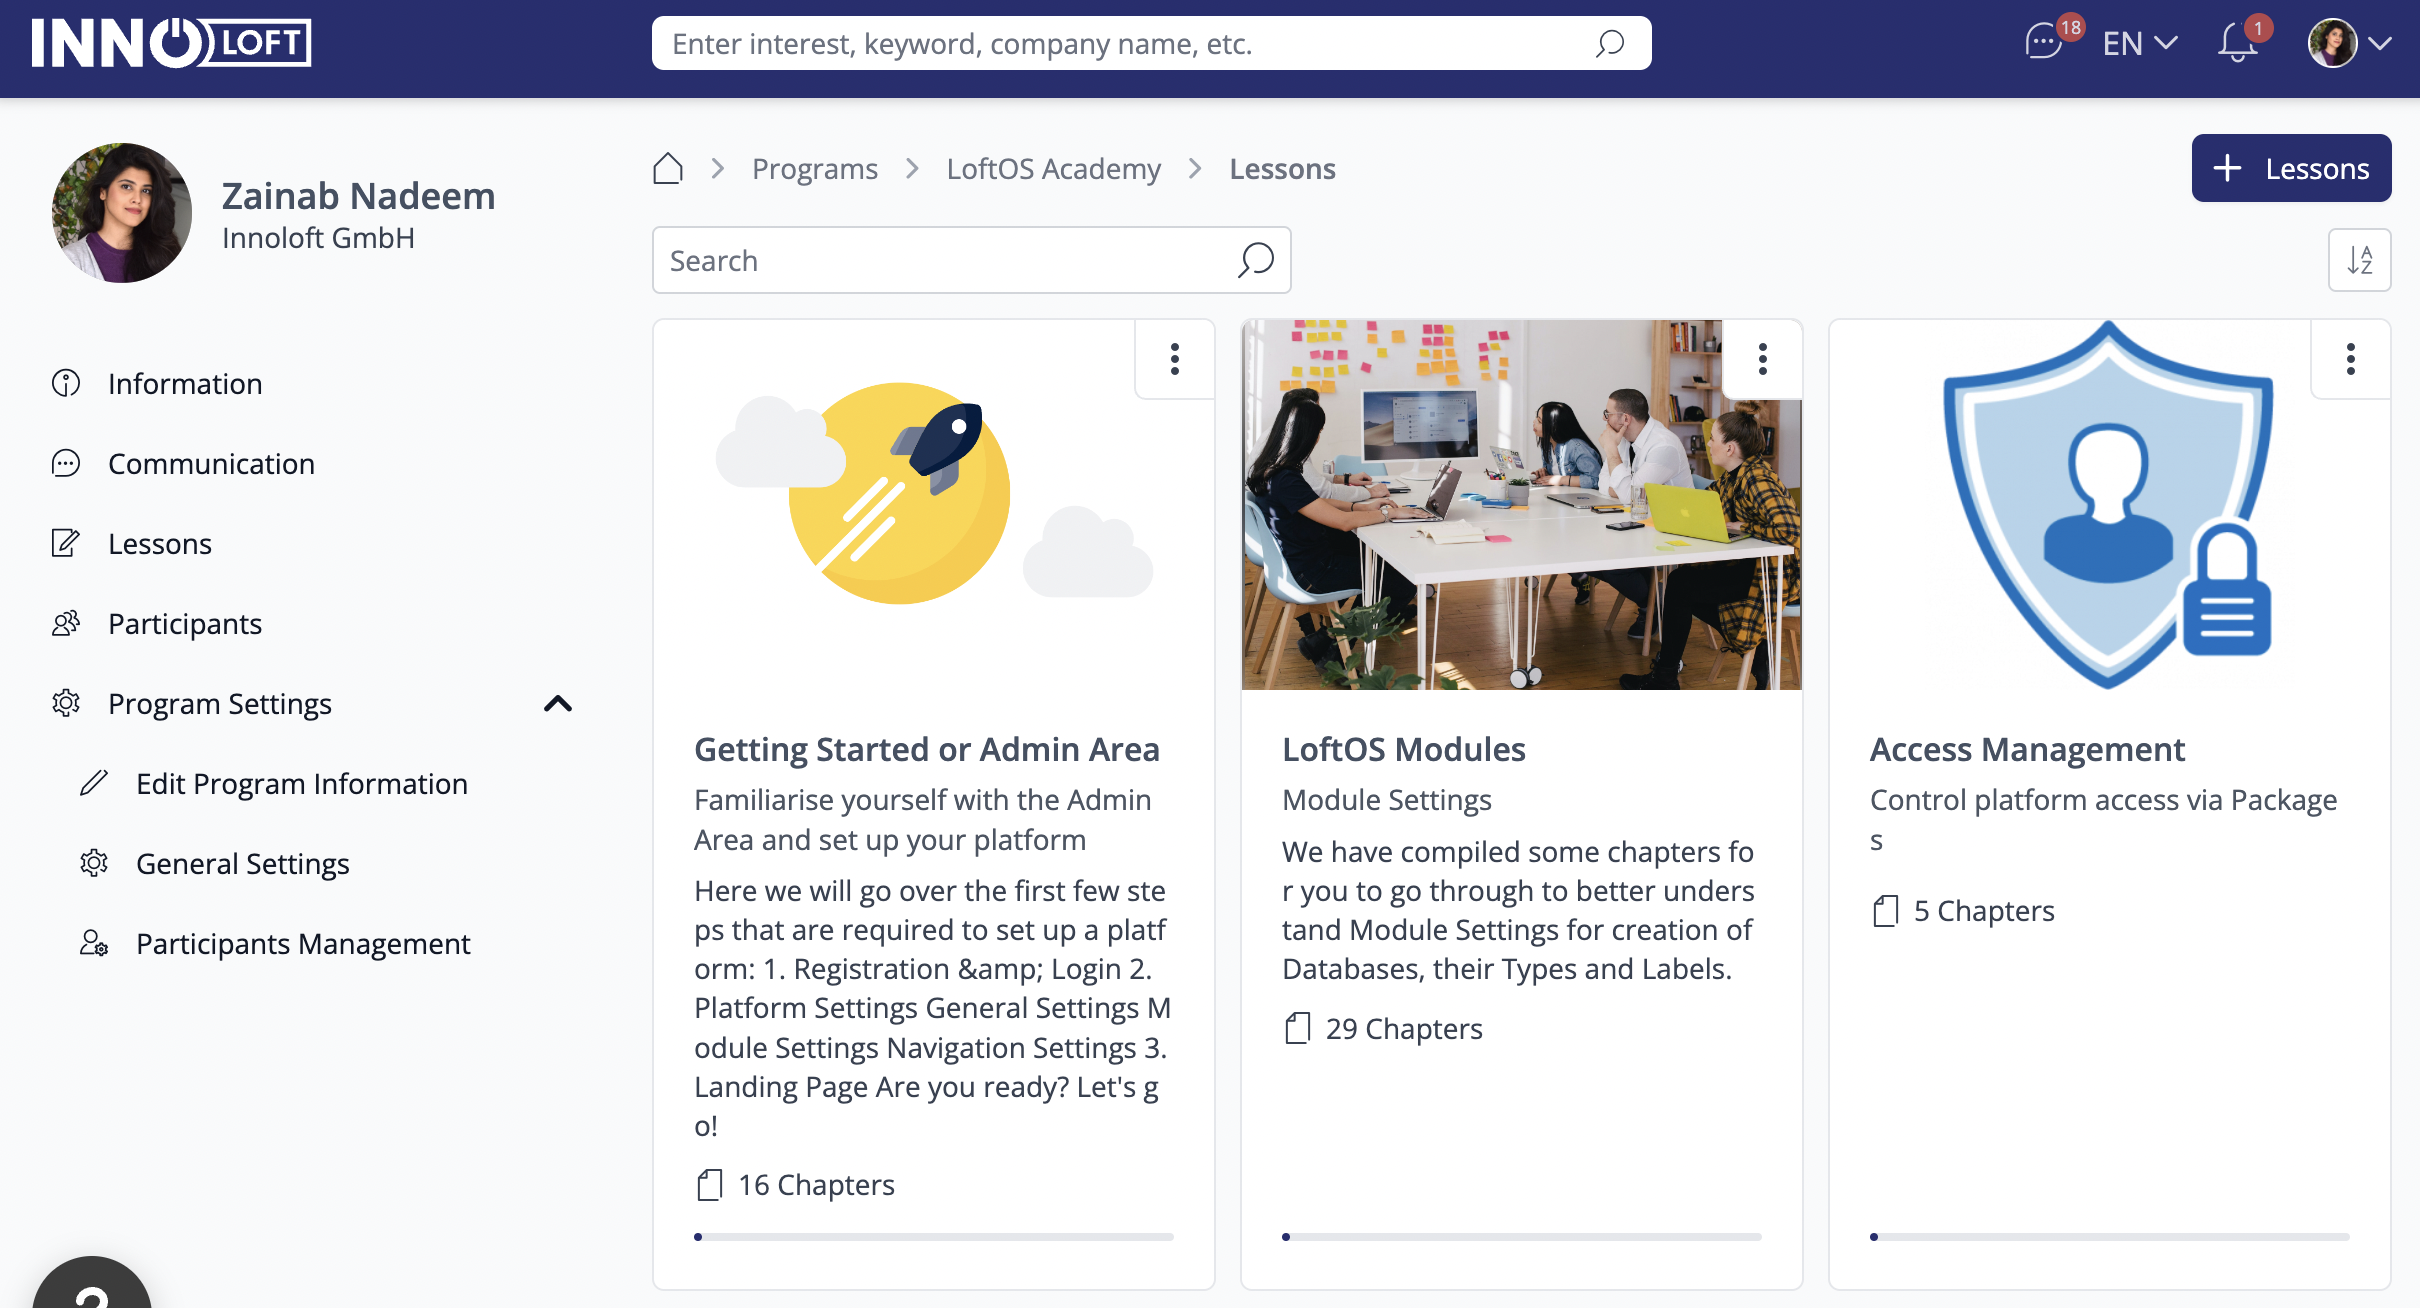
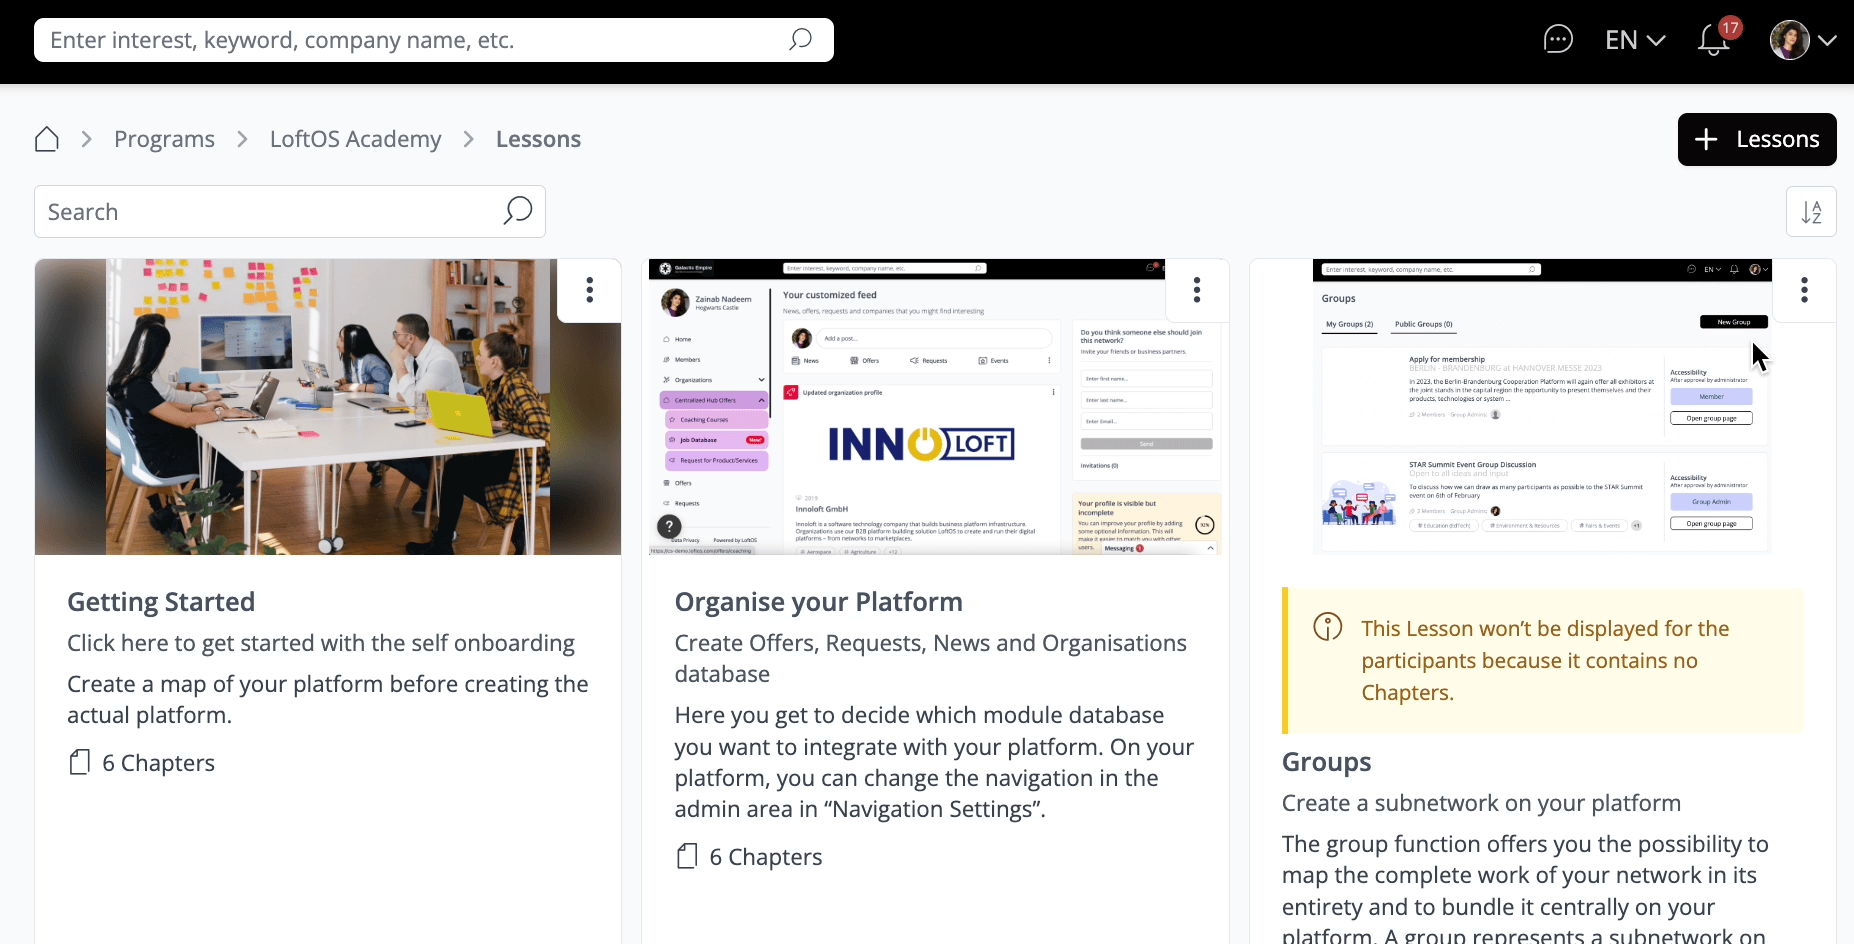
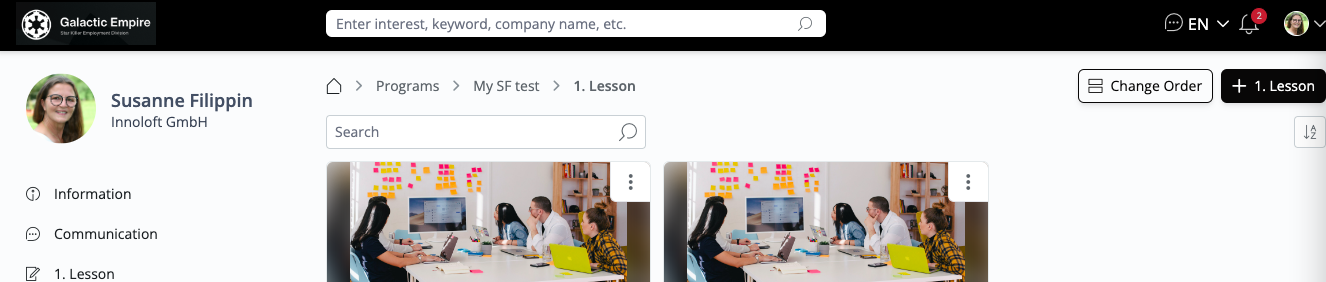
To access the lessons and chapters, click "Lessons" in the navigation menu. Here, you'll find all available Lessons listed along with the number of chapters in each Lesson. Click on a Lesson to view its Chapters.
On the left side of the screen, you'll see the Chapters for the selected Lesson. You can easily switch between Chapters and navigate through them.
After completing a chapter, click "Finish Chapter" to mark it as completed. Your progress will be displayed as a percentage on a progress bar. Additionally, completed Chapters will be marked with a checkmark in the Lessons menu.
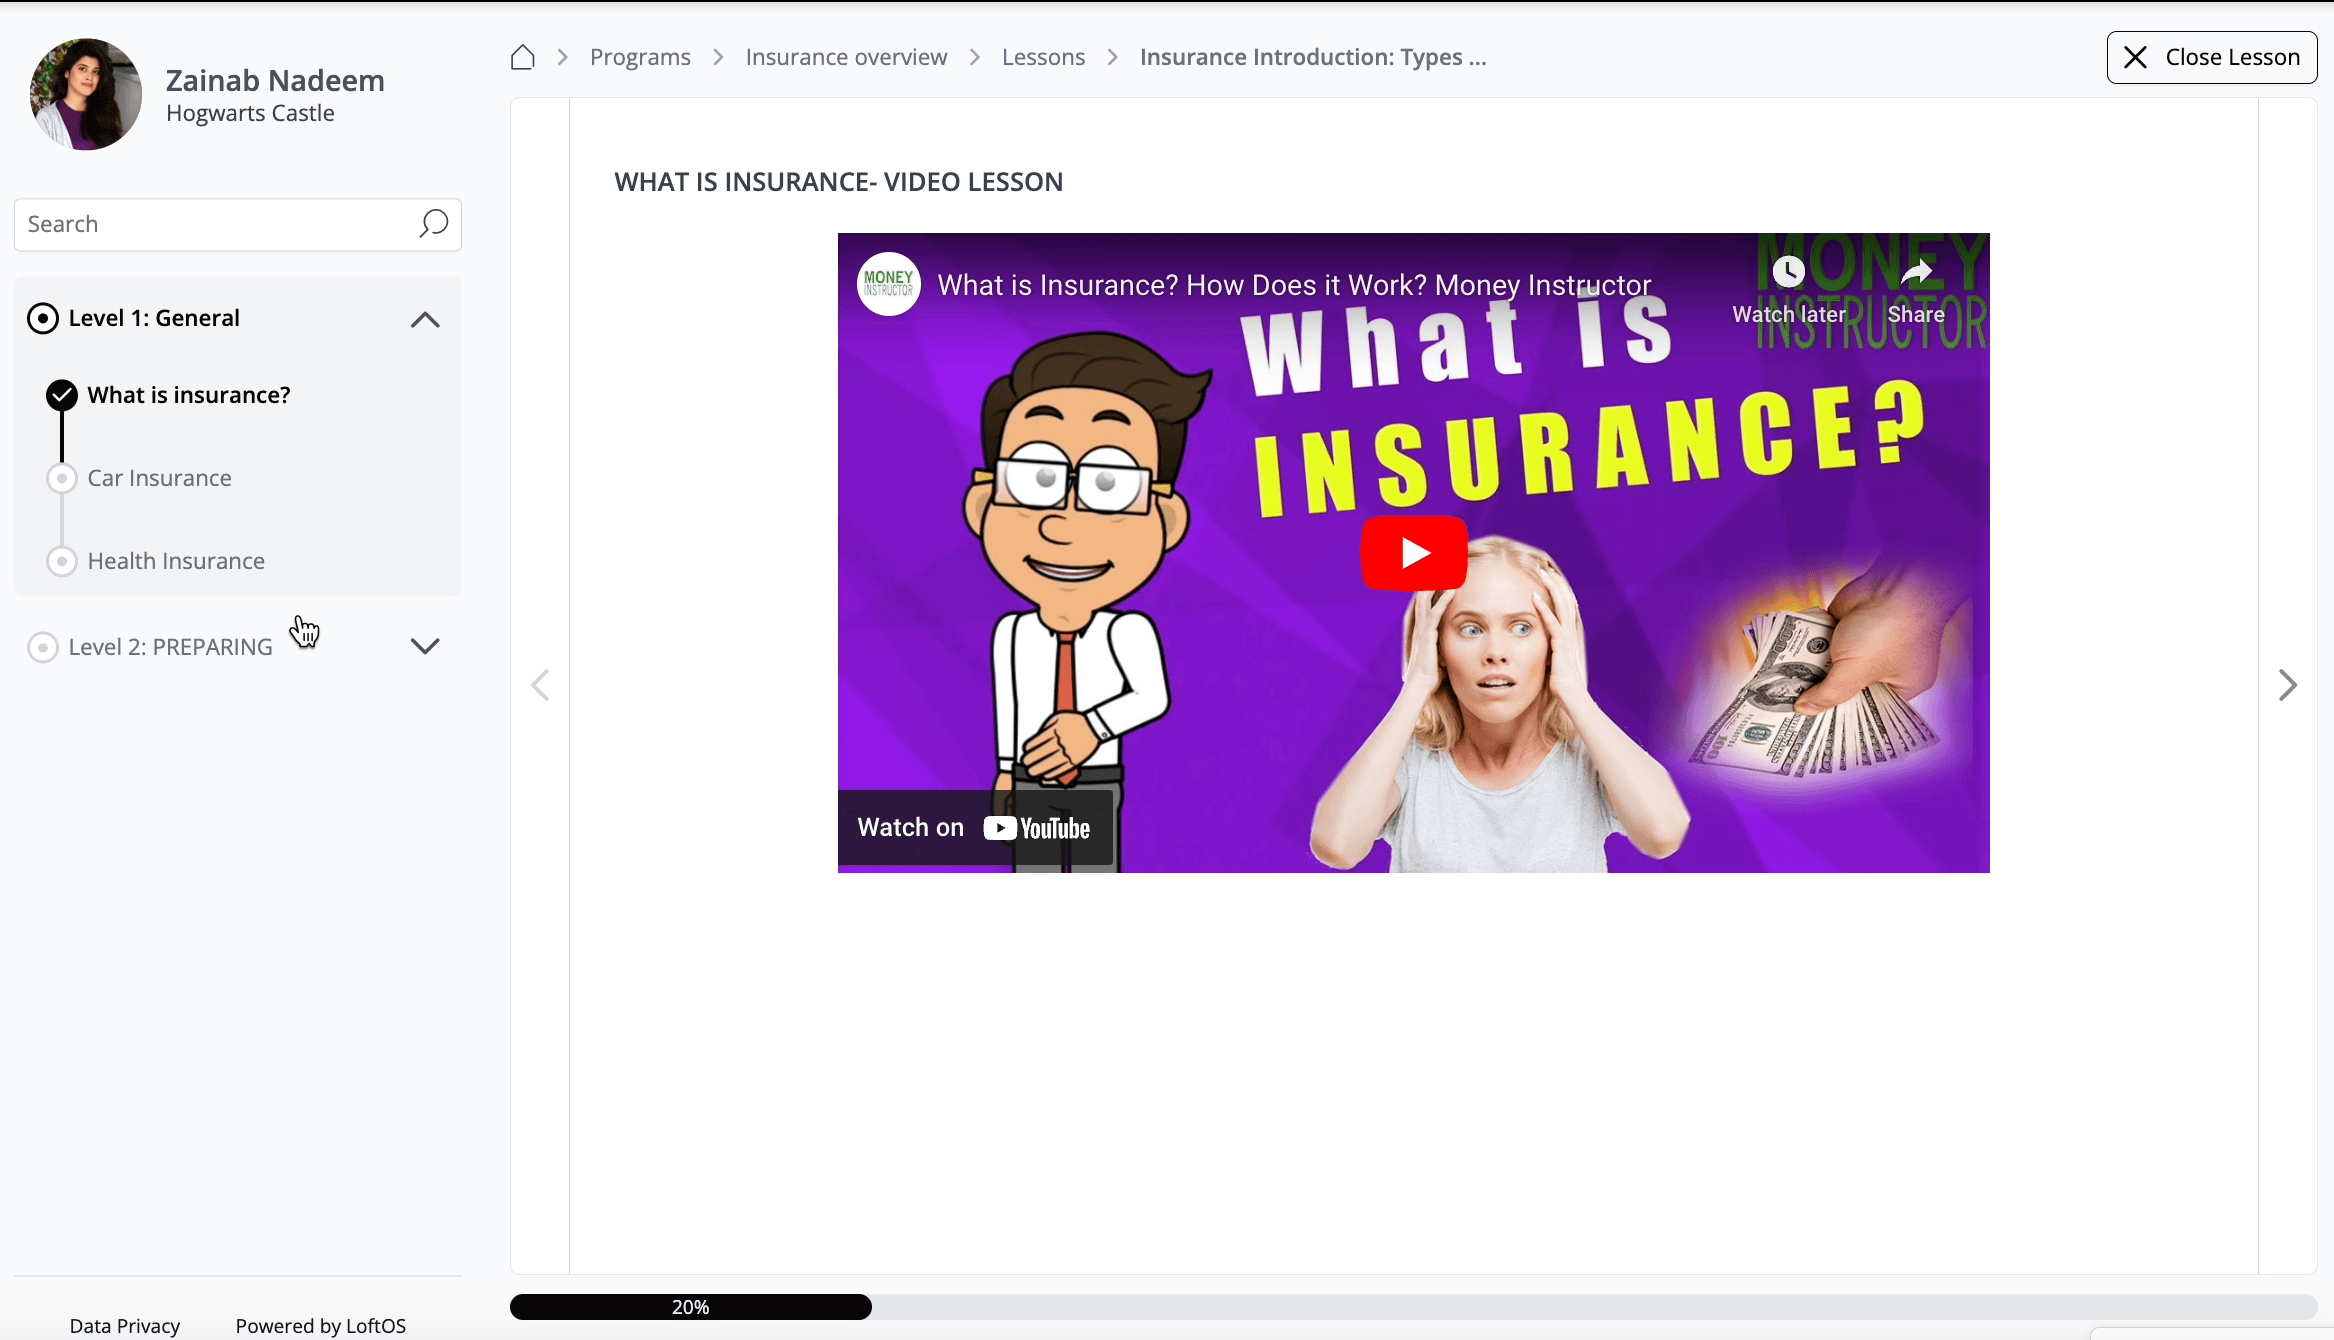
Once you've completed all the chapters within a Lesson, simply click "Close Lesson" located in the upper-right corner of the screen. This action will take you to the Lesson overview page, where you can review your progress and start the next Lesson if available.
🤝 Content Management
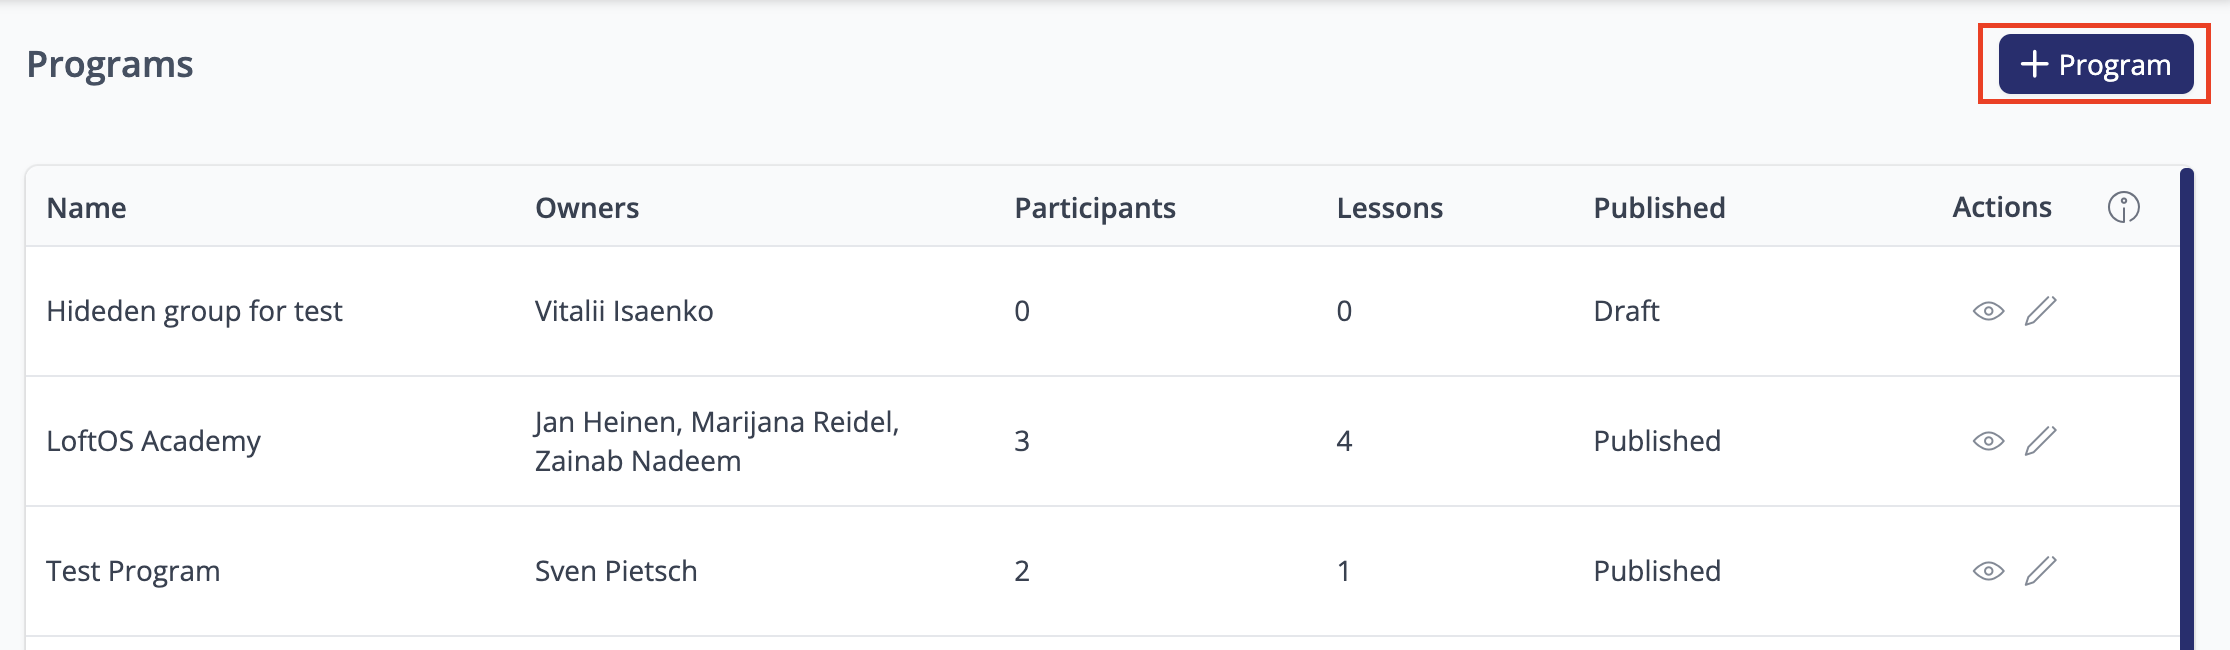
Within the admin area, you can access an overview of all Programs created on the platform. Here, you can create new Programs, edit existing ones, and monitor their publication status, whether published or still in draft mode.
Create a Program
To create a Program, follow these steps:
Create Lessons
To create a Lesson in a Program, follow these steps:
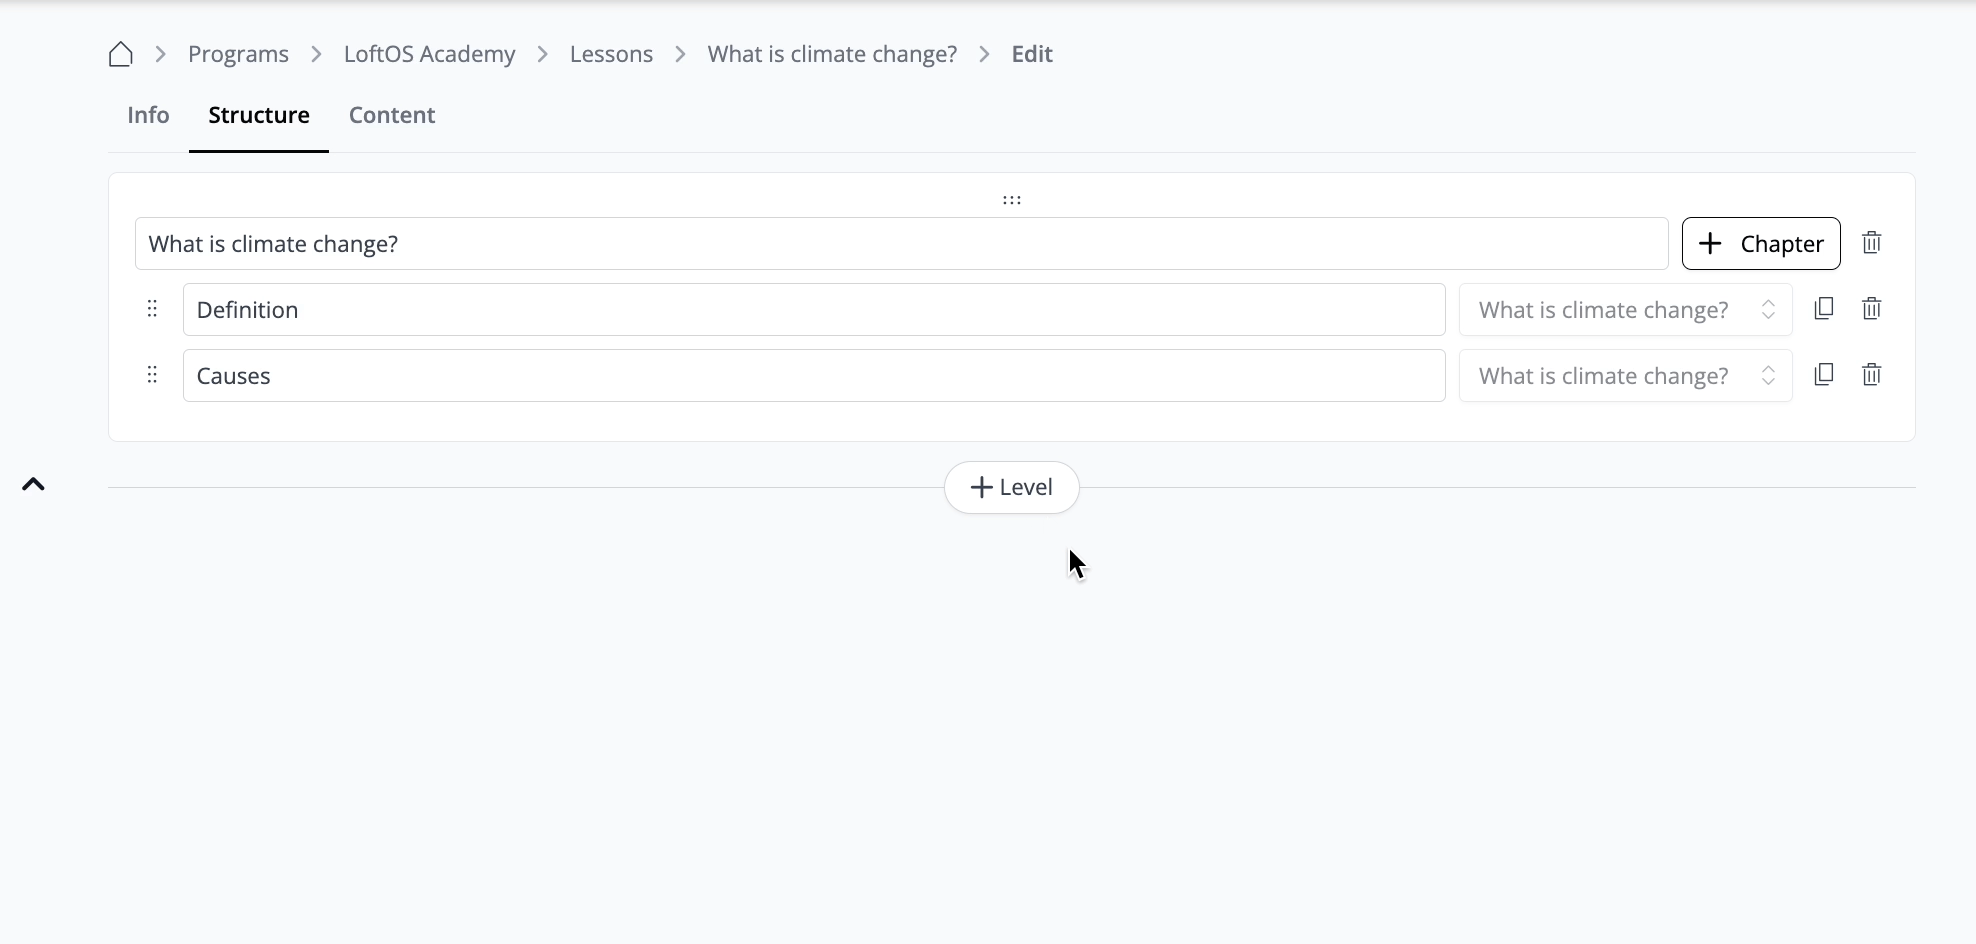
To create Levels and Chapters within a Lesson, follow these steps:
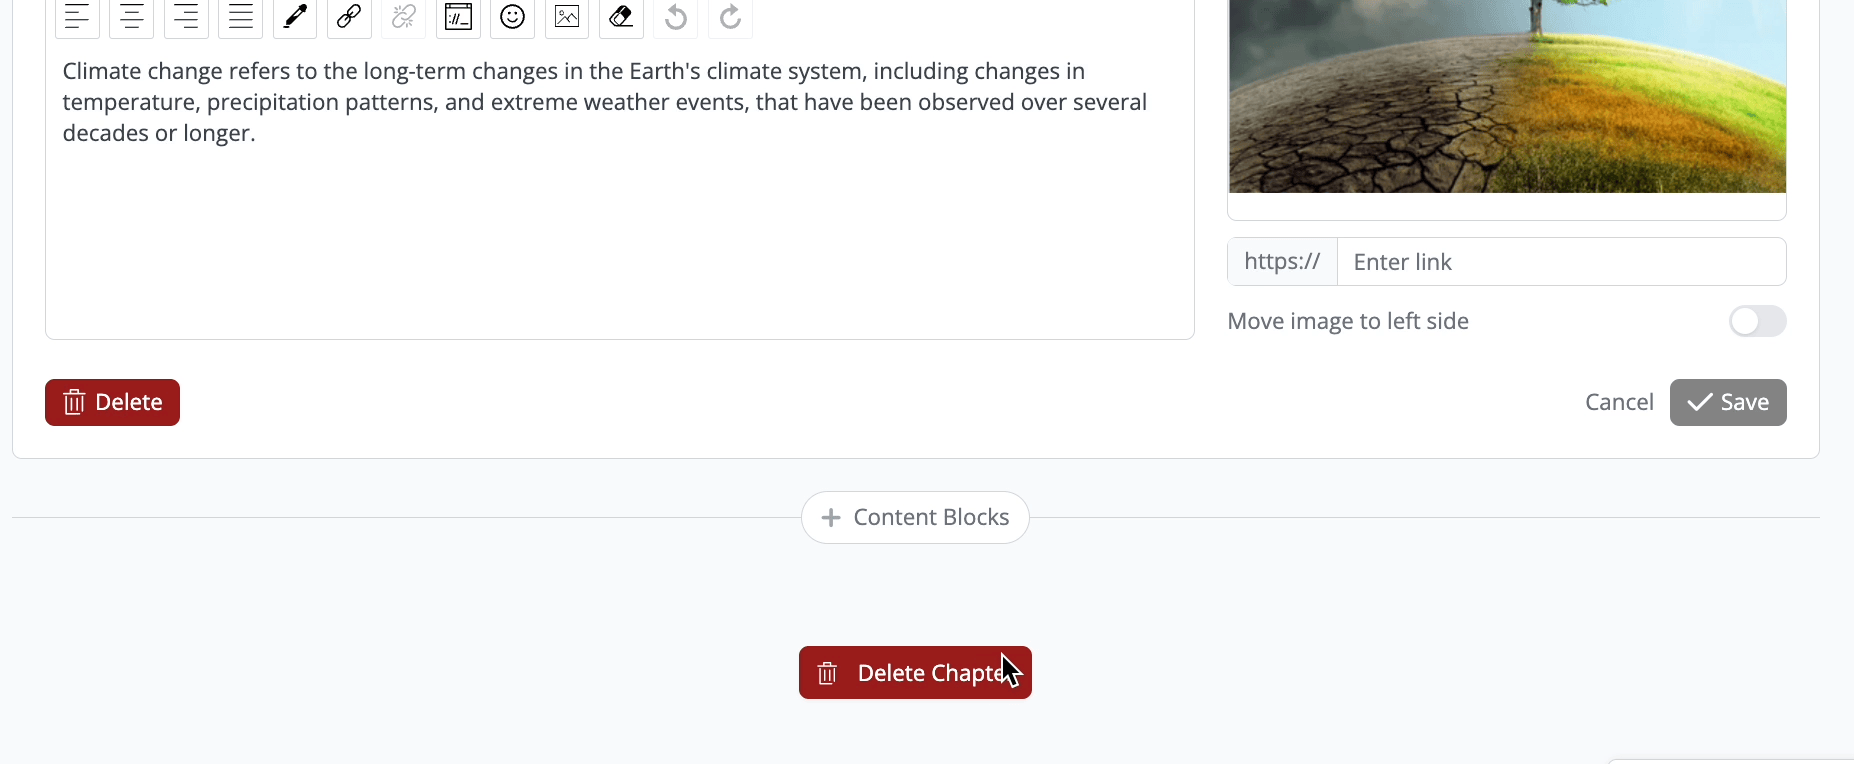
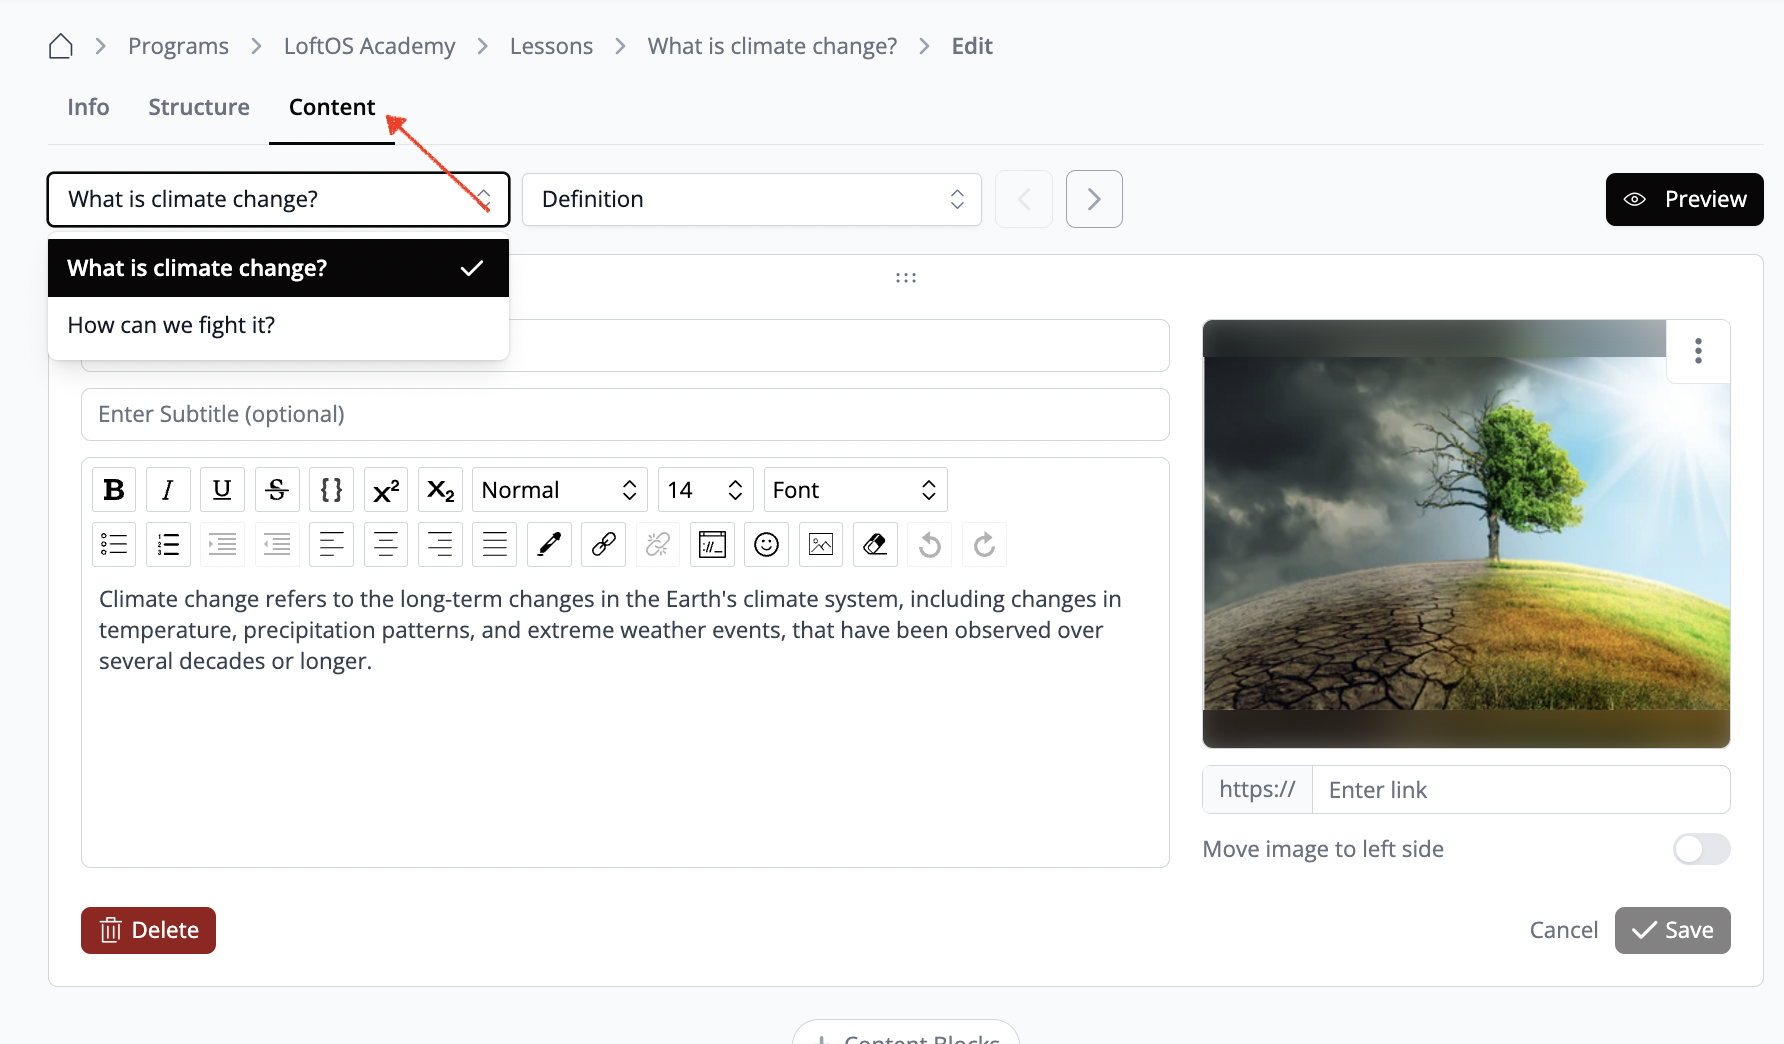
To add content to chapters within a Lesson, follow these steps:
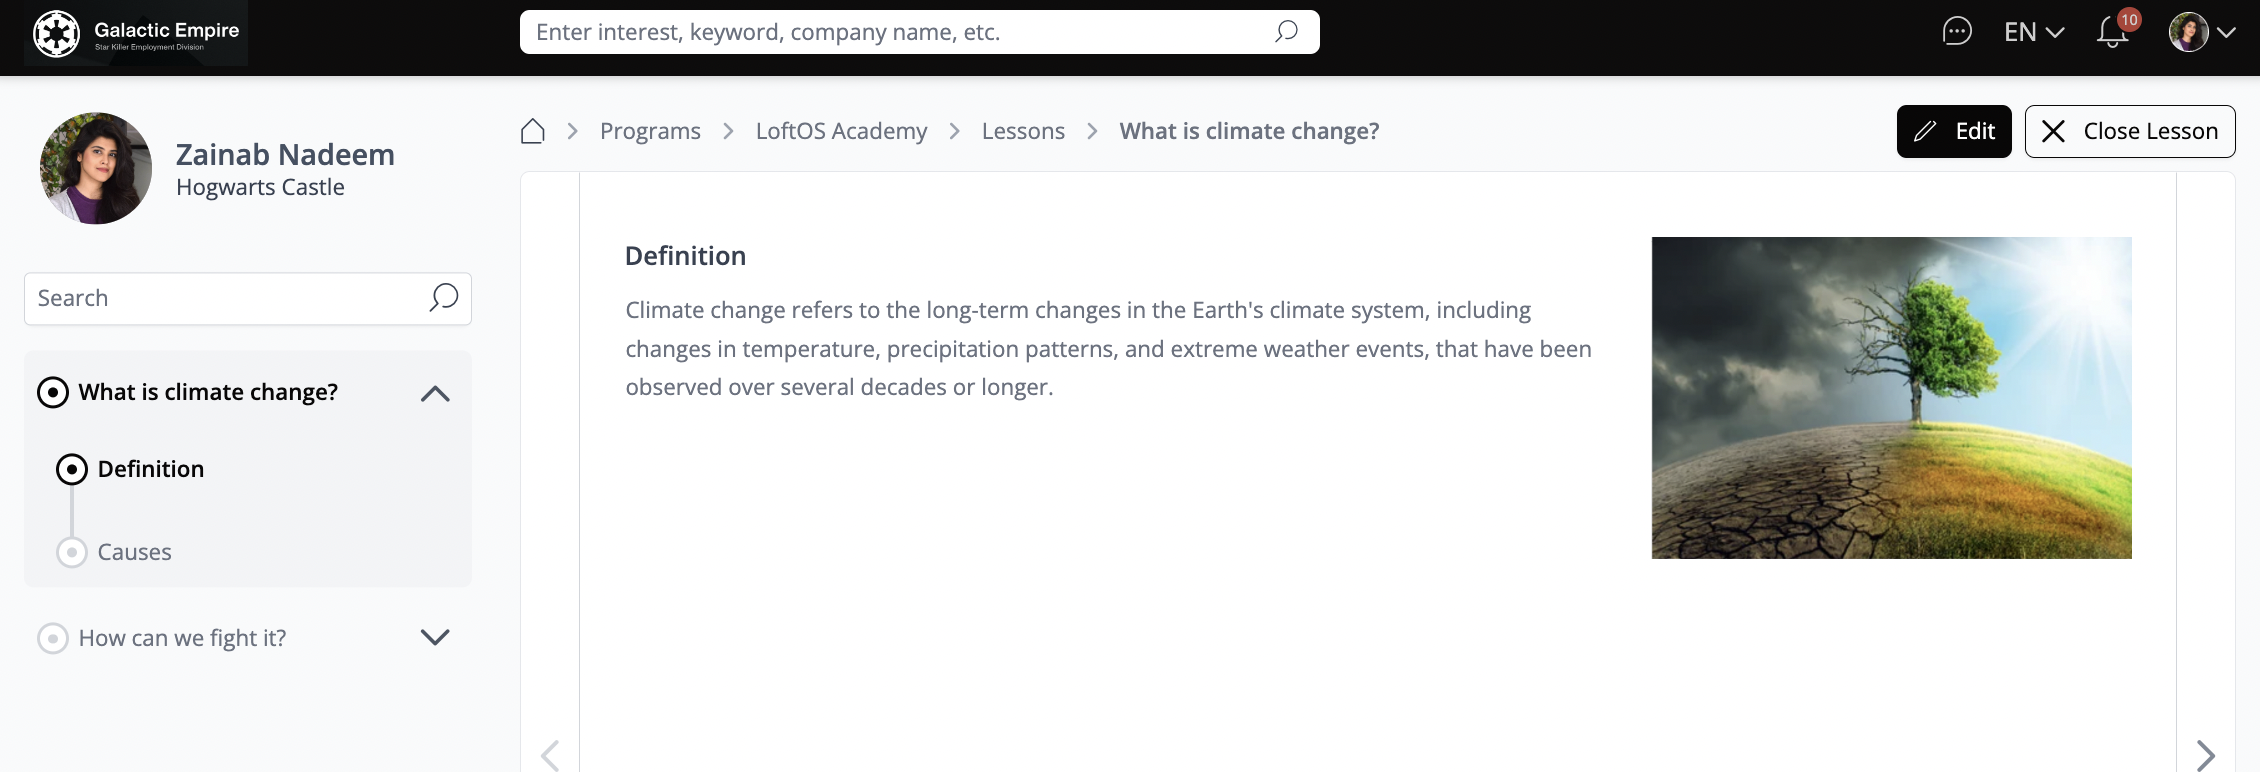
After adding and saving the content for the Chapters within a Lesson, you can preview how the Lesson will appear to users by following these steps:
Program Settings
Accessibility
Module Selection
In the "Module Selection" section of the Admin Settings, you can adjust the sequence of modules within the Program navigation menu and deactivate modules according to your requirements.
When a module is deactivated, it will be hidden from view. You have the option to toggle the visibility of "Participants Amount" and "Lessons Amount" on the information page. Moreover, if you wish to restrict participant access, you can disable both the "Participants Database" and "Lessons Overview" from their view.
Notifications
These settings are customizable on an individual basis for each organizer. You can opt to receive notifications for various occurrences, such as:
Custom wording
Here, you have the option to personalize titles and texts throughout the module.
Link events to tasks
You have the possibility to connect Events directly to tasks. This functionality enables you to create a task within a Program that permits users to join an Event effortlessly with a single click. This streamlined process not only promotes related Events but also eliminates the need to share multiple links separately.
Moreover, if you wish to mandate user participation in an Event as a prerequisite for completing a chapter, you can easily configure this within the task definition. In such cases, users will be required to register for the Event before advancing further.
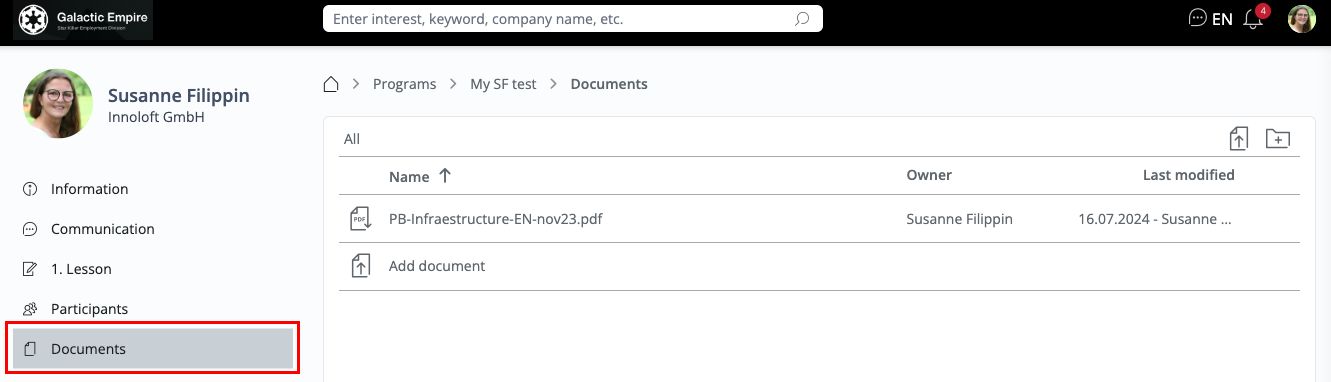
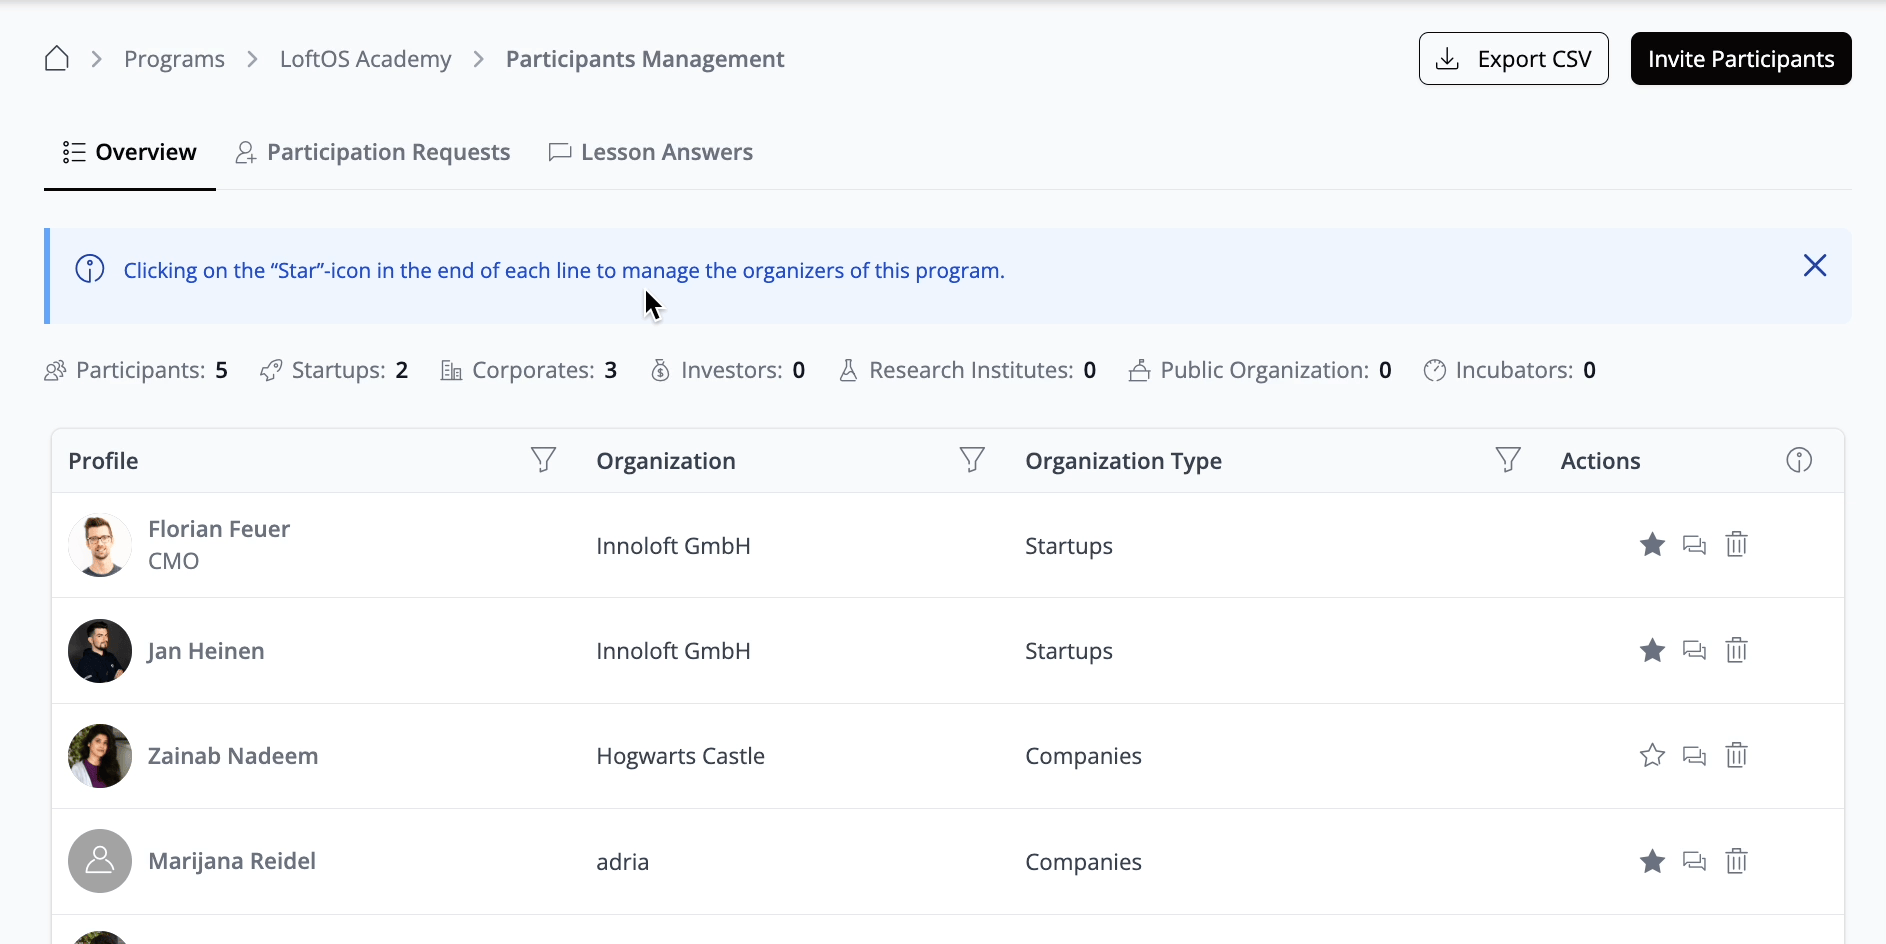
Participants Management
In addition to the participant and request overviews, you have access to view the "Lesson Answers" submitted by participants. Furthermore, you can “Export Answers” to maintain a comprehensive record of their responses.
Duplicate Program
You can duplicate or copy/paste a Program. Navigate to “My Programs”, click on the “three-dot control icon”, and select "Copy" from the dropdown menu.
Delete Program
If you decide to remove a Program from the platform, you have the option to delete it. Simply navigate to “My Programs”, click the “three-dot control icon”, and select "Delete" from the dropdown menu.
Communication within a Program
To foster discussion about the Program, you can create a chatroom with dedicated topics for different aspects. Simply navigate to "Communication" and click the "+" icon to initiate the creation of a chatroom.
🥇 Best Practices
🧑🏼🏫 Use Cases
Employ programs for your study course: set an event (such as a lecture) as one task, and then a quiz or paper upload as a second task.