🧭 Navigation Settings
💡 Introduction
A standout feature of LoftOS is its customizable Navigation, which empowers you to tailor the User experience to suit your audience. This functionality enables you to efficiently organize content and design a Navigation menu that aligns seamlessly with your specific needs and objectives.
👩🏻💻 Usage
Managing Navigation Settings
In the Navigation Settings, you have the flexibility to modify the Navigation structure of your platform. To access this feature, navigate to the Admin area, select “Platform Settings”, and then choose “Navigation Settings”.
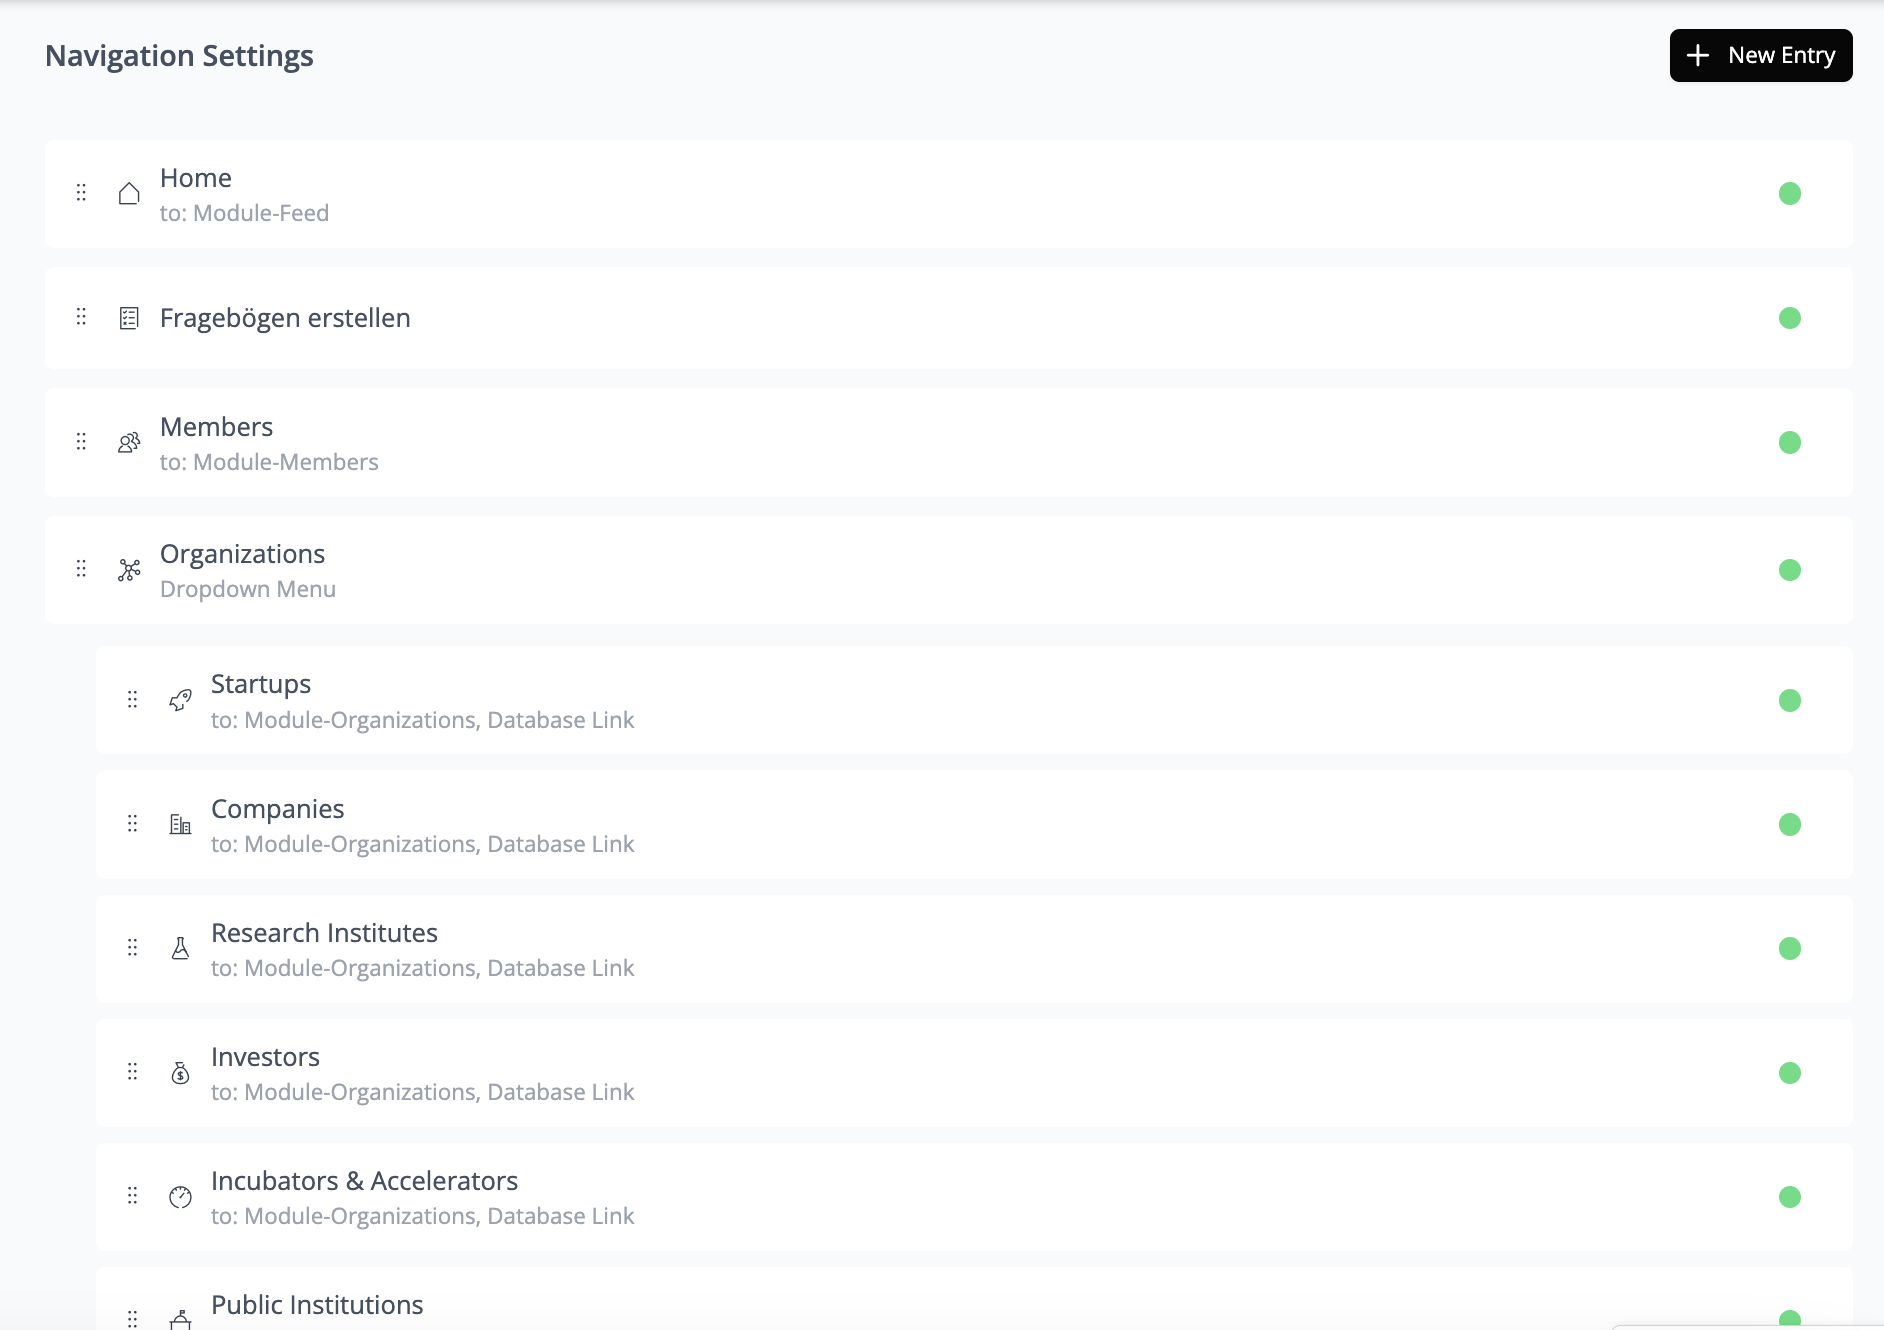
Rearranging the Entries
To rearrange the existing Navigation structure, utilize the drag-and-drop feature for easy adjustments.
Create a new Navigation Entry
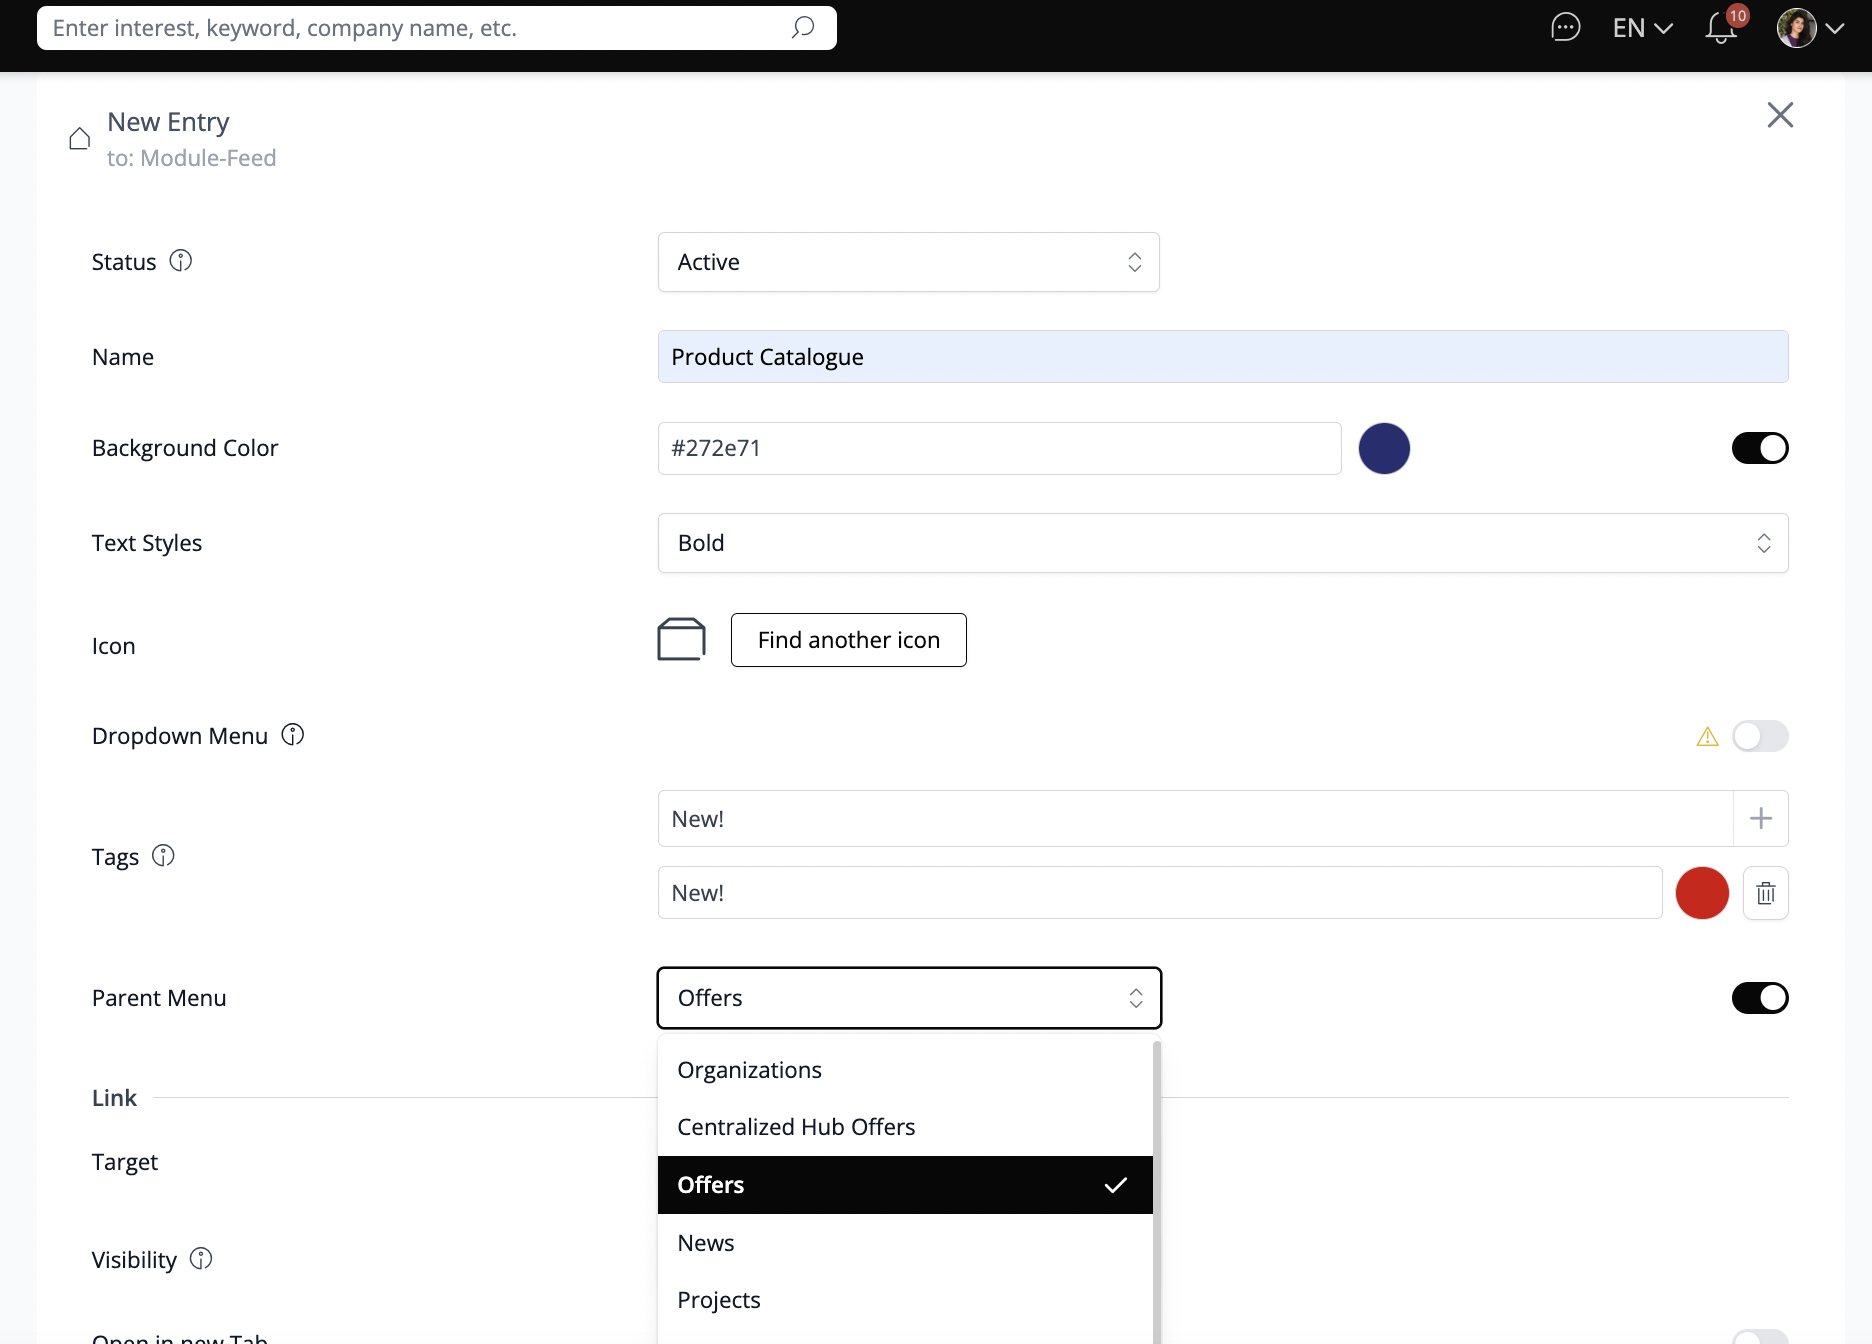
Create a new entry to tailor it to meet your specific requirements. We provide options for formatting, icon selection, background color, and placement—whether as part of a drop-down menu or as a fixed point on the navigation. To begin, click “+ New Entry” in the top right corner.
Link
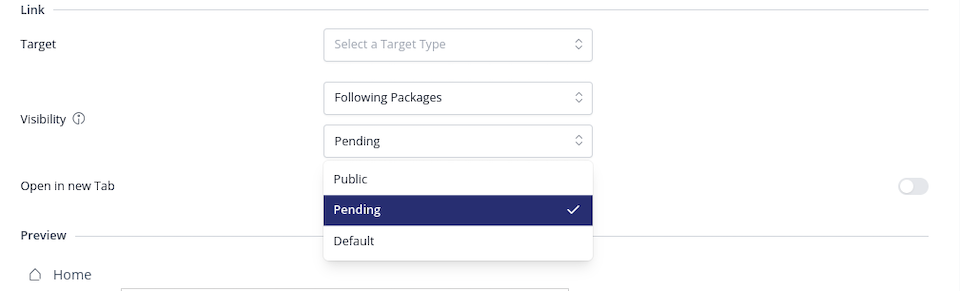
In the Link section, you can specify the destination URL for the Navigation point. Additionally, you can adjust settings such as visibility and determine who can see the link and whether the link should open in a new tab. This customization allows enhanced control over user navigation and experience.
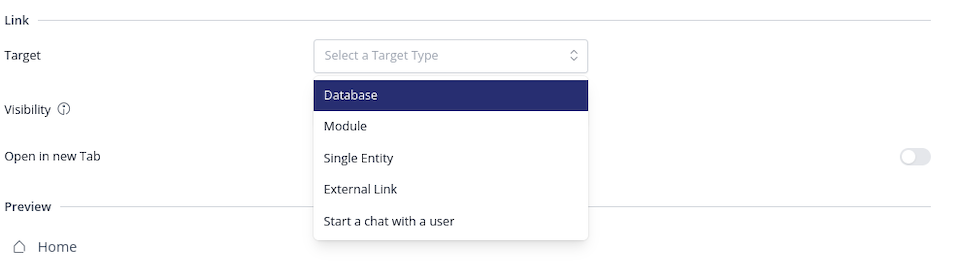
Target Options:
Visibility Options:
🥇 Best Practices
Clear terminology
When creating new Navigation entries, it's crucial to employ clear and concise language that accurately describes the content users will encounter upon clicking the Navigation entry. This ensures a straightforward and intuitive user experience.
Using a Dropdown Menu
Dropdown menus are ideal for organizing multiple related entries under a single umbrella, simplifying user Navigation and keeping the main menu uncluttered. For example, a "Marketplace of Products" could use drop-down menus to group offers and services, allowing users to easily access specific categories of content.
Using External Links
Utilize the External Link option to direct users to a different webpage. This feature is useful for integrating external forms, surveys, or additional informational resources directly into the navigation menu. Examples include linking to personal calendars, website details, knowledge bases, or how-to guides, enhancing accessibility and user engagement.