👋 Welcome Messages

đź’ˇ Introduction

Welcome Messages offer administrators a means to communicate essential information to users upon login. These messages can be displayed either on the first login or every login and may optionally include an opt-in check to ensure users have acknowledged the information.

Moreover, Welcome Messages can serve to prompt users to take action. By incorporating a call-to-action button in the message, admins can guide users to specific pages or actions within the platform.

For an admin, Welcome Messages can be very useful in a number of ways.
  • Providing Updates: Administrators can use Welcome Messages to inform users about important updates, such as new features, changes in policy, or system maintenance.
  • Advertising Content: Welcome Messages can be utilized to promote specific content, such as new articles, events, or offers, ensuring users are aware of relevant information.
  • Introducing Groups or Events: Administrators can introduce new groups or events through Welcome Messages, encouraging users to participate or join, thereby fostering community engagement.
  • Welcome Messages can help to create a more personalized user experience, by providing tailored information based on the user's package within the platform.

    👩🏻‍💻 Usage

    Create & Edit Welcome Messages

  • Go to “Module settings” and select “Welcome Message”.
  • Click on “+ Message” to create a new message.
  • To customize existing welcome Messages:

  • Navigate to “Module settings” and choose “Welcome Message”.
  • Click on the three dots located in the upper right corner of the Message you want to edit.
  • Select “Edit” to customize the Message.
  • Configuration Options

  • Visible for users: Enable this option once you have finalized the Welcome Message and saved it.
  • Display settings: Choose to display this Message upon “Every Login” or just the “Next Login”.
  • Affected users: Specify which organization types should see this Welcome Message (e.g., Startup, Company).
  • Affected Packages: Determine which users belonging to certain packages should see the Welcome Message (e.g., Default, Public, Involved partners).
  • Logo: Optionally, add your company logo to the Welcome Message.
  • Title and Description: Provide a title and description that effectively conveys the intended Message to platform users or the public when they log in.
  • Image: Include an image that will serve as the face of the Welcome Message.
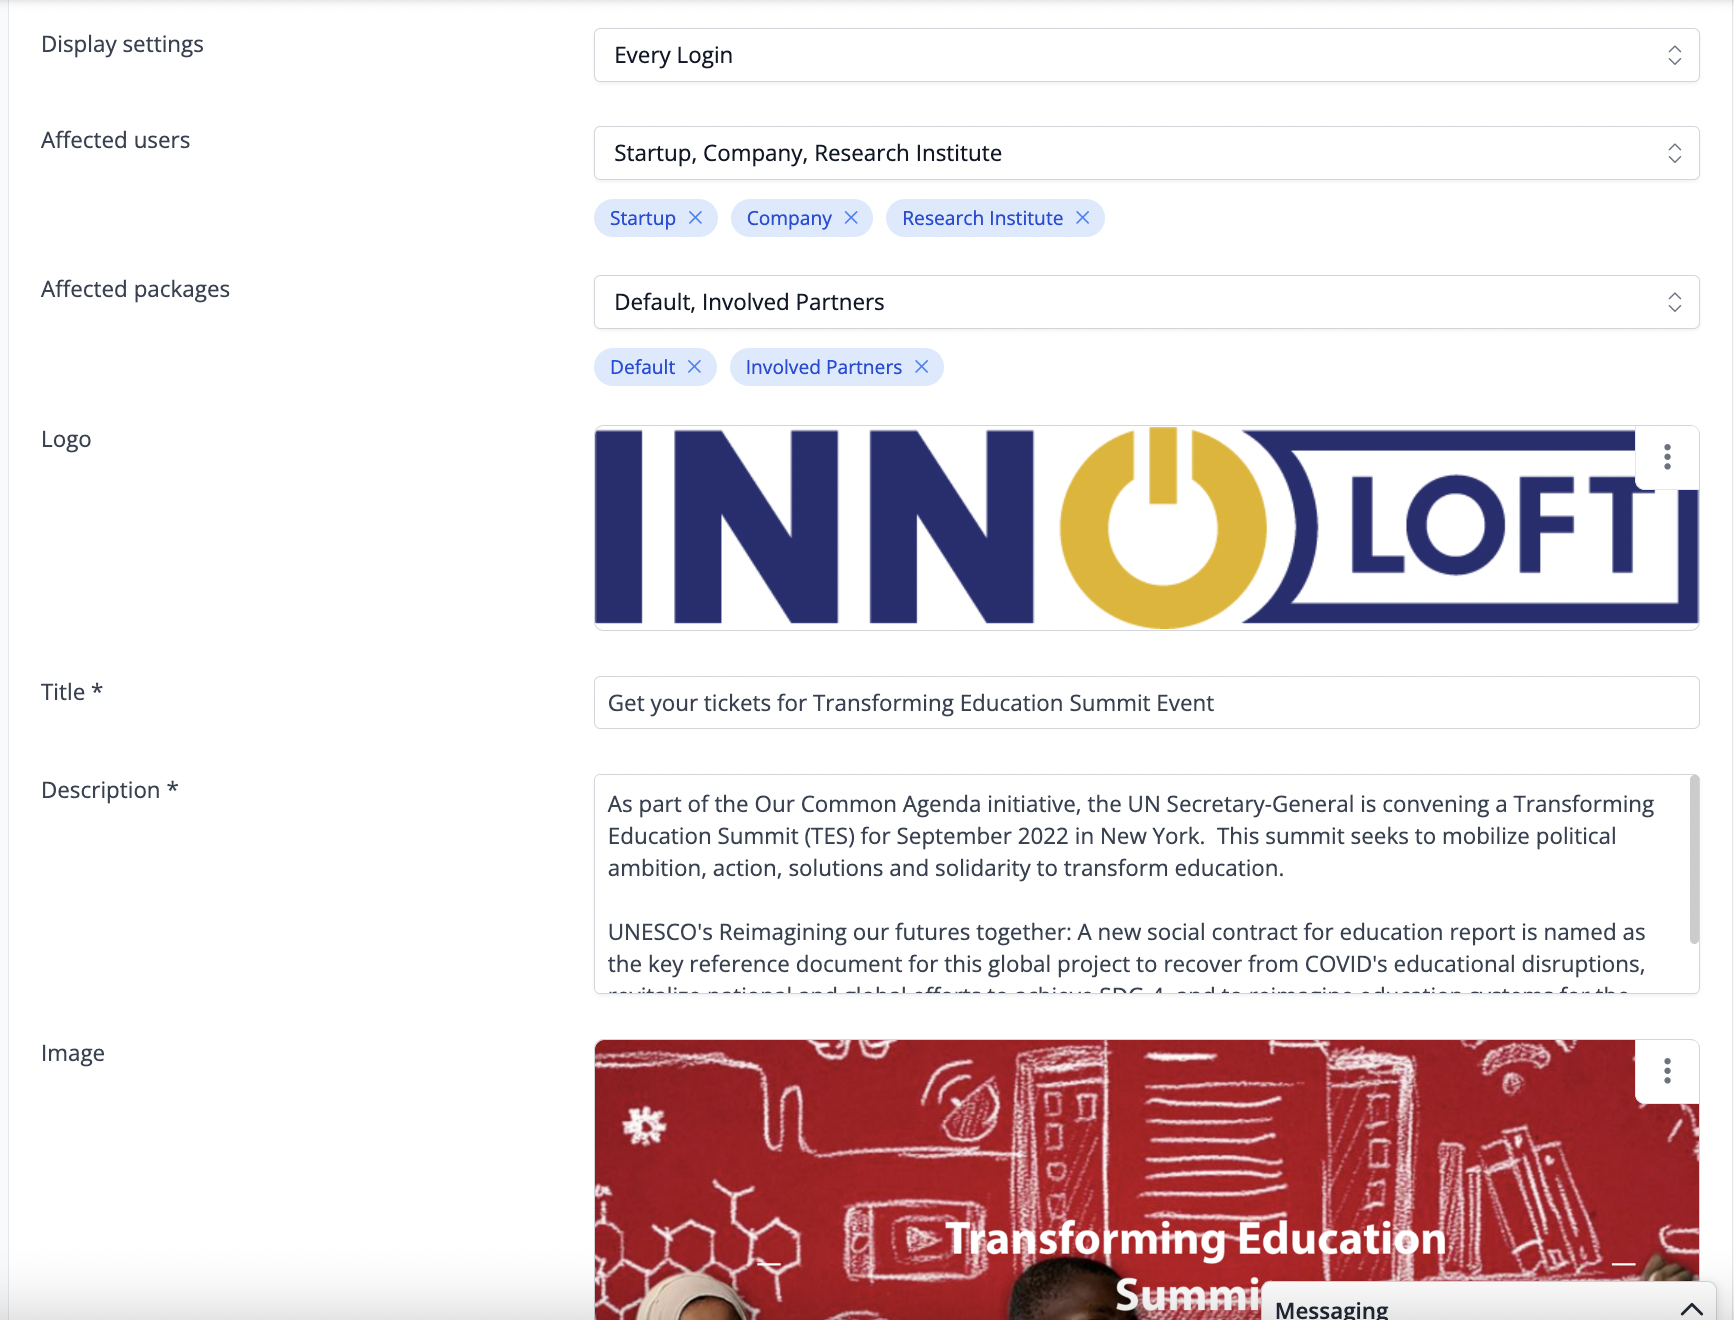
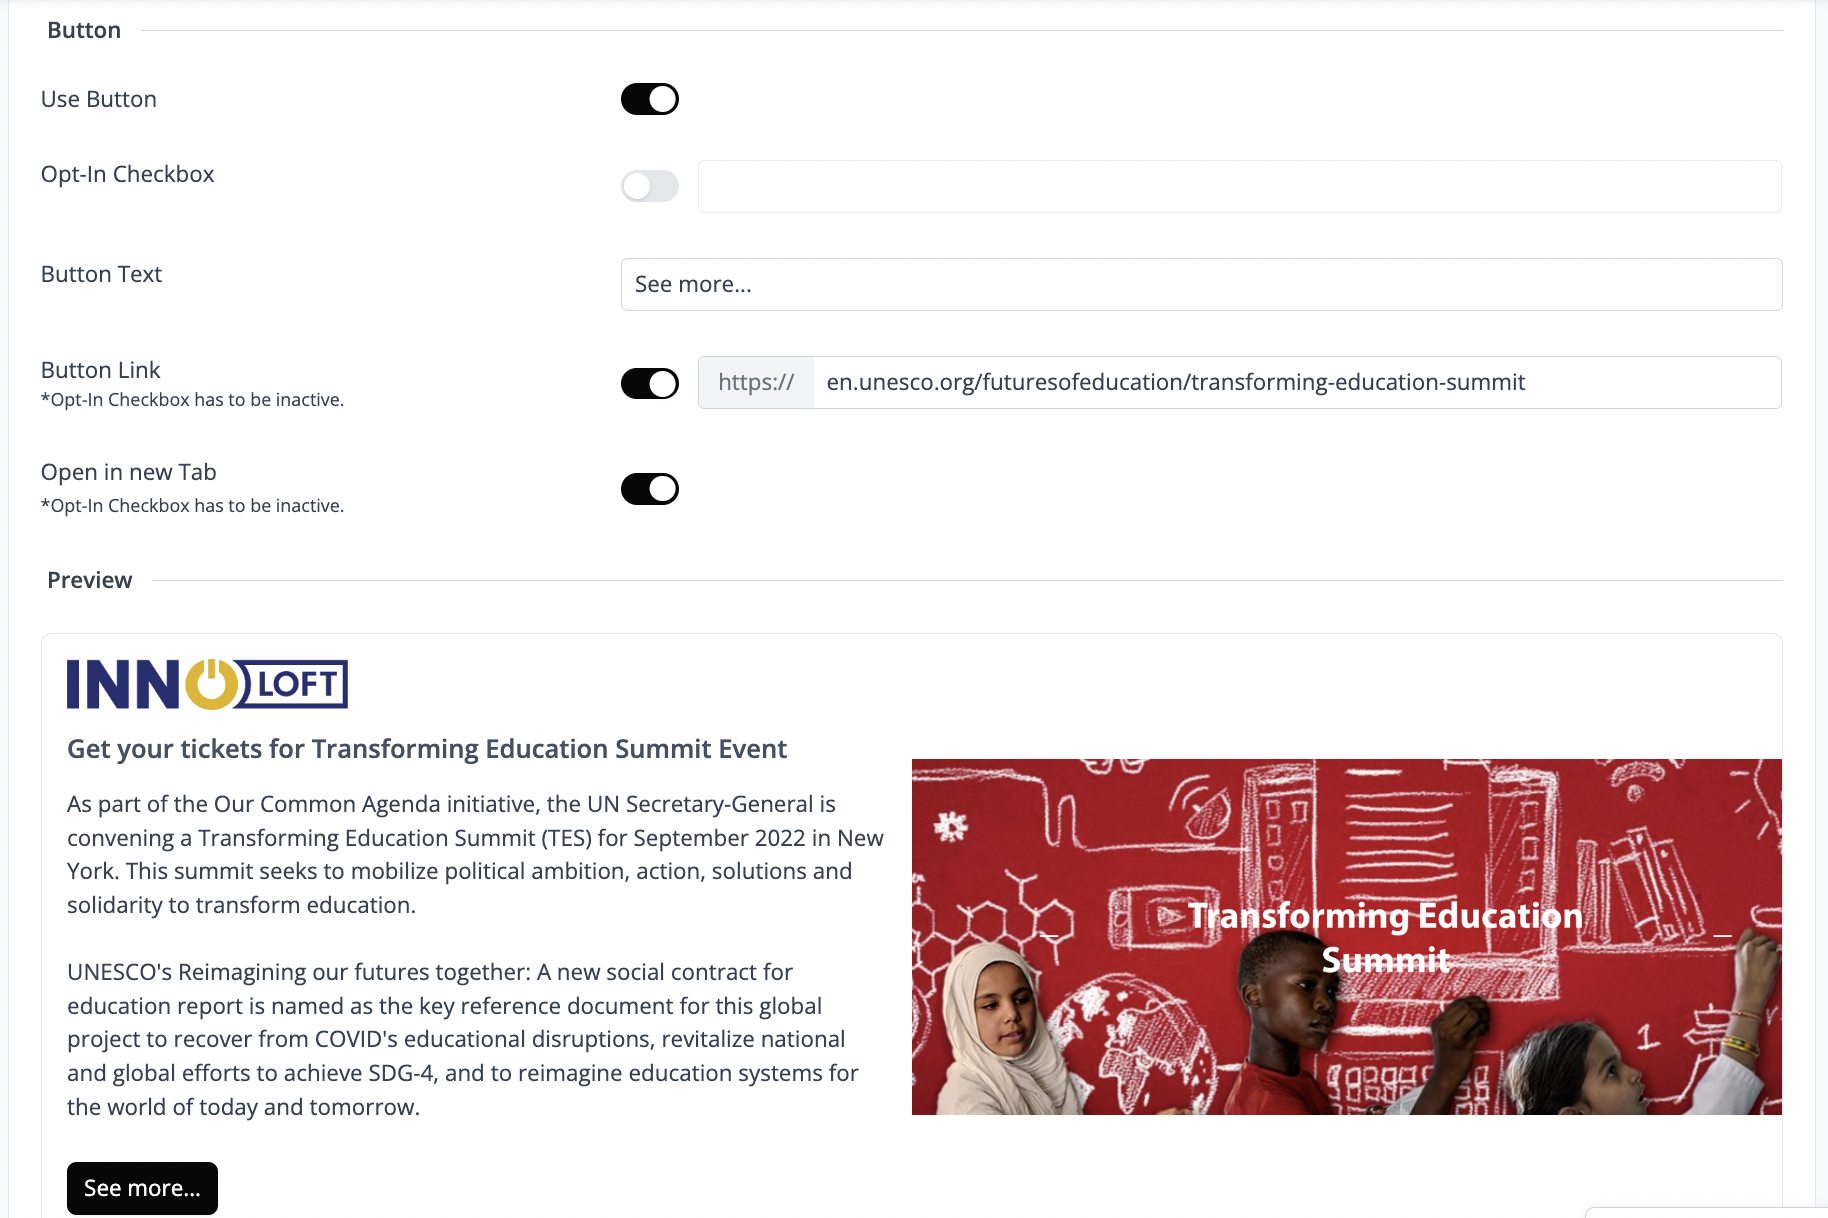
  • When you scroll down, you'll find the preview of your Welcome Message. This allows you to review how the Message will appear to users or the public when they log in.

    Button

    The Welcome Message can display interactive options that users can click on to confirm or acknowledge, among other actions.

  • Use Button: Activate this option to enable the button feature. You can customize the text that appears on the button (e.g., "See more..").
  • Button Link: Specify the destination URL to which the button should link (e.g., a website, external link, or other destination).
  • Open in new tab: Optionally choose to open the linked destination in a new tab when users click on the button.
  • Opt-In Checkbox: This option allows users to opt-in to acknowledge certain terms or conditions. Enable it and specify the text for the opt-in button (e.g., "I acknowledge the terms and conditions"). Once configured, click “Save”.
  • You can then activate the Welcome Message using the “Visible for users” option, either to display it on every login or on the next login, depending on your preference.

    Deactivate or Delete a Welcome Message

  • Click on the “three dots” located in the upper right corner of the Message.
  • Select either “Deactivate” or “Delete”, depending on your preference.
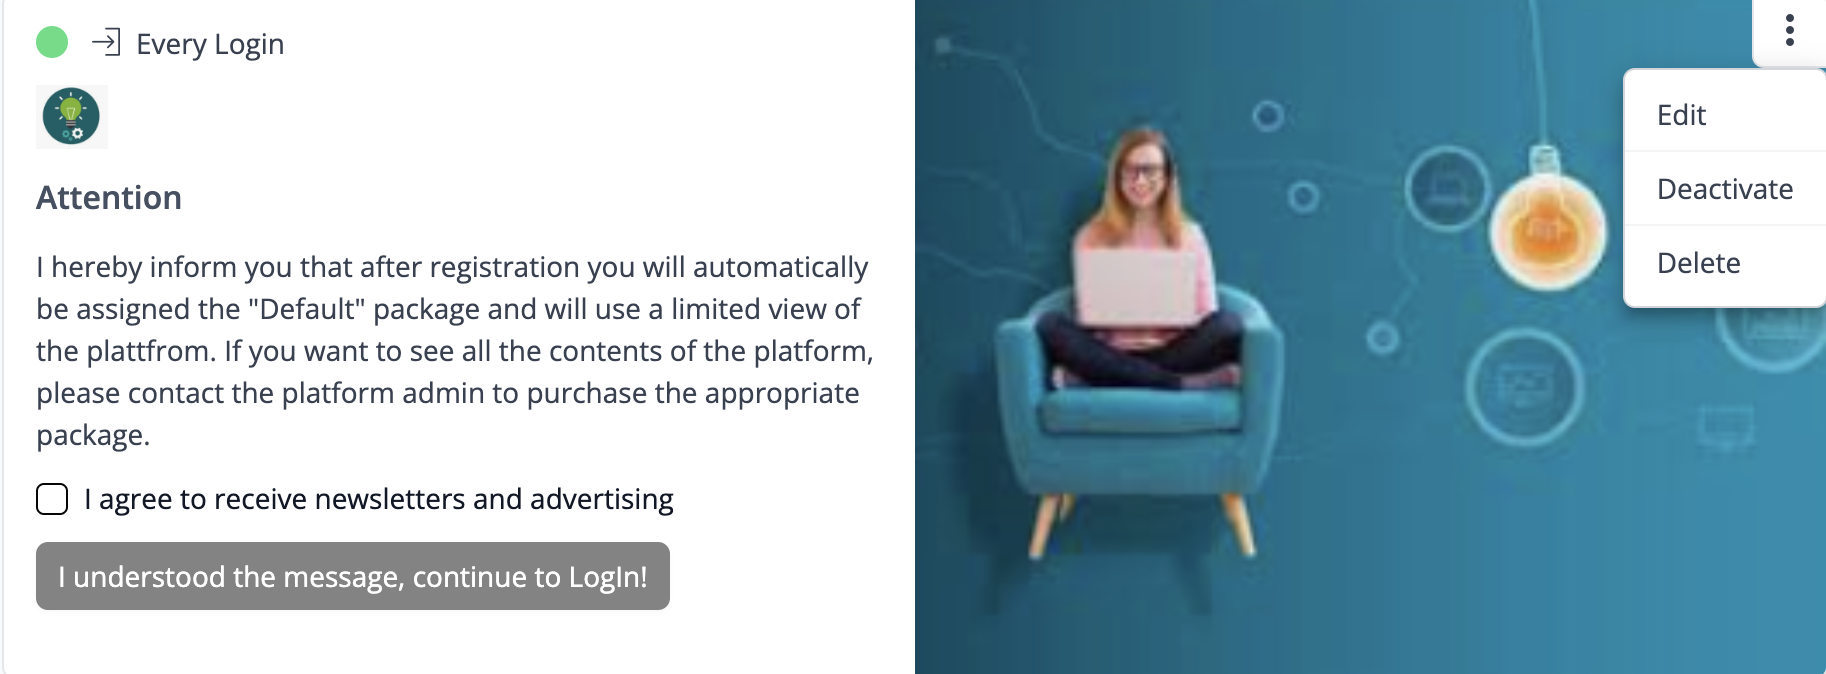
  • When deactivating a Welcome Message, the content will still be available for future use. To activate it again, simply click on “the three dots” in the upper right corner of the message and select “Activate”.

    Click on “Delete” if you wish to remove the Welcome Message permanently from view.

    🥇 Best Practices

  • Give a heads-up on upcoming events: Inform users about your upcoming virtual conferences or webinars. Welcome Messages can serve as invitations by linking the event to a "register" button.
  • Guide users with handy how-tos: Provide step-by-step onboarding instructions for navigating your platform's key features and modules. You can link Pages to the call-to-action buttons.
  • Encourage community participation: Encourage users to introduce themselves in new member groups or post their first request in your Offers/Requests database. A gentle nudge can ignite engagement.
  • Wish season’s greetings: Utilize Welcome Messages to spread holiday cheer with festive images or fun messages.
  • âť“ FAQs

    How many Welcome Messages can I create?

    You can create as many Welcome Messages as needed, but it's advisable to limit the number to prevent overwhelming users. Keeping the messages concise and relevant ensures a positive user experience and avoids inundating users with too much information at once.

    Can I add images to my Welcome Message?

    You can add images to your Welcome Message. Use the "Image" option in the configuration settings to upload an image that will be displayed along with your message.

    Can I customize the affected users and packages for each Welcome Message?

    You can customize packages for each Welcome Message. This flexibility enables you to tailor your message to specific groups of users or packages, ensuring that the message is relevant and targeted to the intended audience.