⚙️ Platform Settings
💡 Introduction
The General Platform Settings page serves as the hub for customizing fundamental aspects of your platform, enabling you to shape its identity and functionality to suit your specific requirements.
From here, you can modify crucial details such as:
👩🏻💻 Usage
Name and Description

Own URL & Redirects
URL
When your platform is initially created, it is assigned a default URL with a .loftos.com domain. However, you can customize this URL by setting up a (sub)domain. This process involves configuring the A-Record, an external resource, to point to our platform's IP address, which is 3.125.75.36. By following these steps, you can seamlessly integrate your platform with your preferred domain, enhancing its branding and accessibility.
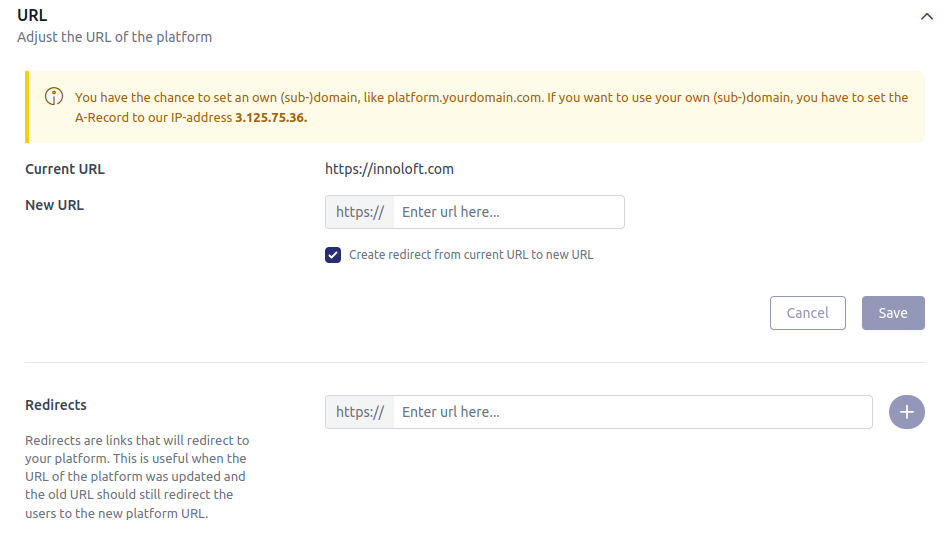
Redirects
Whenever you update the URL of your platform, it is crucial to set up a redirect from the old URL to the new one. Failing to do so could result in users losing access to the platform if they continue using the old URL. By implementing a redirect, you ensure seamless navigation for users who are accustomed to the previous URL, directing them to the updated address without any disruption in their access.
Logo
This logo is utilized in system-generated e-mails sent to your users, including registration confirmations, platform content updates, and event reminders.
In addition to the logo, the favicon serves as a crucial identifier for your platform. You can manage and set your own favicon directly within the admin area. For an optimal result, your favicon should be 512x512 pixels in resolution.
Design
Design your page according to your branding colors and fonts:
Entry Pages
Define the page that users see when they are not logged in and access the platform, and the page they see once they are logged in. Also, specify the page users land on when they click on the breadcrumb. Ensure to select the appropriate option from the dropdown menu.
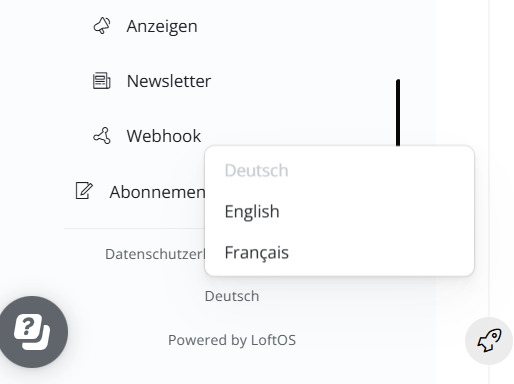
Platform Languages
LoftOS provides the flexibility to tailor your platform to various languages, ensuring accessibility and user comfort. Within this section, adding new languages to your platform is a simple process.
Utilizing an integrated version of DeepL, an automated translation tool, LoftOS facilitates dynamic translation of content. However, it is crucial to remember that static content undergoes translation only once. Any changes made to static content post-translation will not automatically update.
Additionally, it Is essential to recognize that translation quality may vary depending on the language. European languages typically receive higher-quality translations compared to others, such as Chinese (with support limited to simplified Chinese at present).

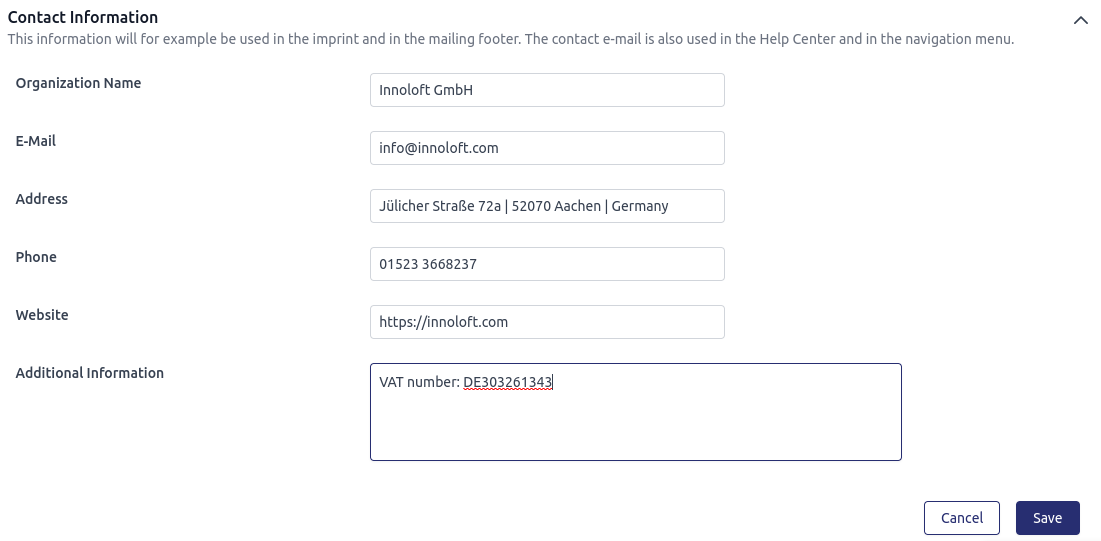
Contact Information
Once you've entered your contact information, it will be automatically added to the footer of all e-mails sent from your platform, helping to build trust with your users and establish your brand identity. In this section, you'll input vital contact details for your organization, including the organization's name, support team e-mail address, and phone number. These details are mandatory under GDPR regulations and will be displayed in the footer of e-mails sent from your platform. Accuracy and currency are essential to ensure users can contact you with any queries or concerns. Once entered, this information will be automatically appended to all platform e-mails, bolstering user trust and reinforcing your brand identity.
Legal Notice
From the dropdown menu, select either your own Legal Notice, add a link to an external Legal Notice, or choose to use the template provided by us. Please note that the Legal Notice will not be translated. Please make sure to check all your available languages after you make changes.
Terms of Usage
From the dropdown menu, select either your own Terms of Usage, add a link to external Terms of Usage, or choose from the templates (Blank, German or English) provided by us. Please note that the Terms of Usage will not be translated. Please make sure to check all your available languages after you make changes.
Privacy Policy
Select your Privacy Policy template either in German or in English language.
We advise reaching out to your Customer Success Manager or the Innoloft Data Privacy Team before editing your privacy policy to clarify and ensure compliance with your contract terms.
Please note that this “Privacy Policy” will not be translated. Please make sure to check all your available languages after you make changes.
❓ FAQs
General
How can I change the General Platform Settings?
To access platform settings, navigate to "Platform Settings" and select "General Settings”. Here, you can modify the platform's name and description, set a contact e-mail, adjust the platform's URL, define primary and secondary colors, upload the platform's logo, and manage platform languages.
How can I change the Platform’s colors and logo?
Navigate to "Platform settings" and then "General Settings”. Here, you can define primary and secondary colors, upload the platform's logo, and manage platform languages.
How can I change the available languages?
Navigate to "Platform settings" and then "General Settings”. Here, you can manage platform languages. Keep in mind that the quality of translation may vary between different languages.
How can I change the navigation?
You can change the navigation by going to Admin - Plattform settings - Navigation. Here you can adapt the navigation to your current needs.
How can I change the URL and add redirects?
You can customize your domain, such as platform.yourdomain.com. To do so, set the A-Record to our IP address: 3.125.75.36.
How can I delete a user from the Platform?
You have the option to delete members directly from the Members section. Please note that if the user is active on other platforms as well, their profile will only be removed from your platform.
What is the difference between business and private users?
Platform content can be accessible for both types of users or be limited to business users only. In Access Management, selecting "Business users only" means that users must register with a business email domain and subsequently associate themselves with an organization to access all platform content.
How can I add Platform Admins?
To add more Admins, go to Subscription in the navigation bar, select Admin Seats, and then click on Manage Admins “+Admin”.
How to adjust the categories?
Defining the platform's related industries or categories is currently managed during the onboarding process. If you need to make changes afterward, please reach out to your Customer Success Manager for assistance.
The Category Tree provides predefined categories that can be modified or removed to suit your requirements. You can find the Tree Attribute in the Attribute Library.
The Tree Attribute allows you to:
How do we use the Cookie Banner?
The cookie banner is displayed only on a user's first visit or after clearing the cache. The banner text is fixed and cannot be customized.