📦 Offers
💡 Introduction
The Offers module enables Users to present a range of offerings, including products, services, technologies, and patents. These Offers are categorized by type, pricing, industry sector, target audience, technology readiness level, implementation effort, unique selling points, and business model. Each Offer is showcased in the Offer Marketplace, making it easy for Users to explore and find relevant opportunities within the network.
👩🏻💻 Usage
View Offers
In the Offers overview, Users can easily browse and explore Offers of interest, each displayed as a card. These cards highlight the User of the Offer, enabling straightforward communication. By clicking on an Offer, Users gain access to detailed information. To refine the search, apply filters, including country, business model, technology readiness level, and Offer type. Users can narrow their results by selecting specific technology segments and using keywords for a more targeted search.
Create or Edit an Offer
Creating an Offer
Editing an Offer
❓ FAQs
What resolution should the images have?
Header: 16:5 or 2.250px*700px Content Block: 750px*1000px
What is the maximum file size I can upload?
The size should not be bigger than 5MB.
🎨 Individualization Options
The types of Offers you want to showcase on the platform determine the necessary databases. If the default ecosystem database does not suffice, create a separate database. This enables you to curate content more precisely to meet User needs, ensuring more relevant and specific results.
Manage Offer Databases
Please follow these steps to create a new database for Offers.
Once you have created the new Database, you should be able to see the following sections within that Database:
Settings
Activate and modify the name of your Database. The link is automatically generated but can be edited to suit your preference. Furthermore, you have the option to include a description, alter the icon, and upload a header image. Click “Save” to preserve these settings.
Content
In the Content section, you can specify and limit the types of content displayed within these Databases. Using the Job database as an example, we'll illustrate how to create an individual type to define the content this Database should contain.
We created a type called "Vacancy" and enabled it under the “Content” section for the Job database.
When Users create an Offer, they will see an additional type (Vacancy) alongside other ecosystem types. This inclusion ensures that Users can easily specify job vacancies when creating Offers.
Filters
Select from predefined Filters or create custom ones for Users. Enabling a Filter under the “Main Filter” column designates it as the primary Filter on the Offers page. Enabling “Active” ensures the Filter is accessible when Users click “More Filters”. You can generate new Filters using the Labels or Attribute feature.

Manage Offer Types
Select and tailor the type of content within the database. An ”Individual Type” offers the flexibility to customize sections with attributes relevant to creating an Offer, whereas “Ecosystem Types and Sections” cannot be fully customized.
To begin customizing the Type to align with your requirements:
Once you have successfully created the new Section, you can add Attributes to this section now.
Manage Offer Attributes
To integrate Attributes into the newly established section, create new Attributes or select from existing ones.
Here's a step-by-step guide to create new Attributes:
Upon creating the Attributes, they will be automatically integrated into the section and become visible on the Offer creation page. You can enhance their customization by adjusting the width and marking them as "Required" if needed.
This is how the attributes appear to Users when creating an Offer.
Manage Sections
You can rearrange the order of the newly created and existing Sections by dragging and dropping them. If you want to move a new Section to the top, drag and drop it under the Header section.
You have the option to activate or deactivate Sections you don't require. Click the “Section” and toggle off the "Active" switch. Additionally, you can remove specific attributes from a Section.
Manage Offer Labels
Labels can filter and restrict data when an admin seeks to control access to specific content.
Consider a "Premium" offer database to display Offers labeled as "Premium." In this scenario, only admins can manage and define the content within that database by utilizing Labels. Once a Label is created and assigned to an Offer, only Offers with that Label will be visible in the database, provided this setting is enabled. To implement this, utilize the “Restriction” option under Content within the Database tab.

Create a Label
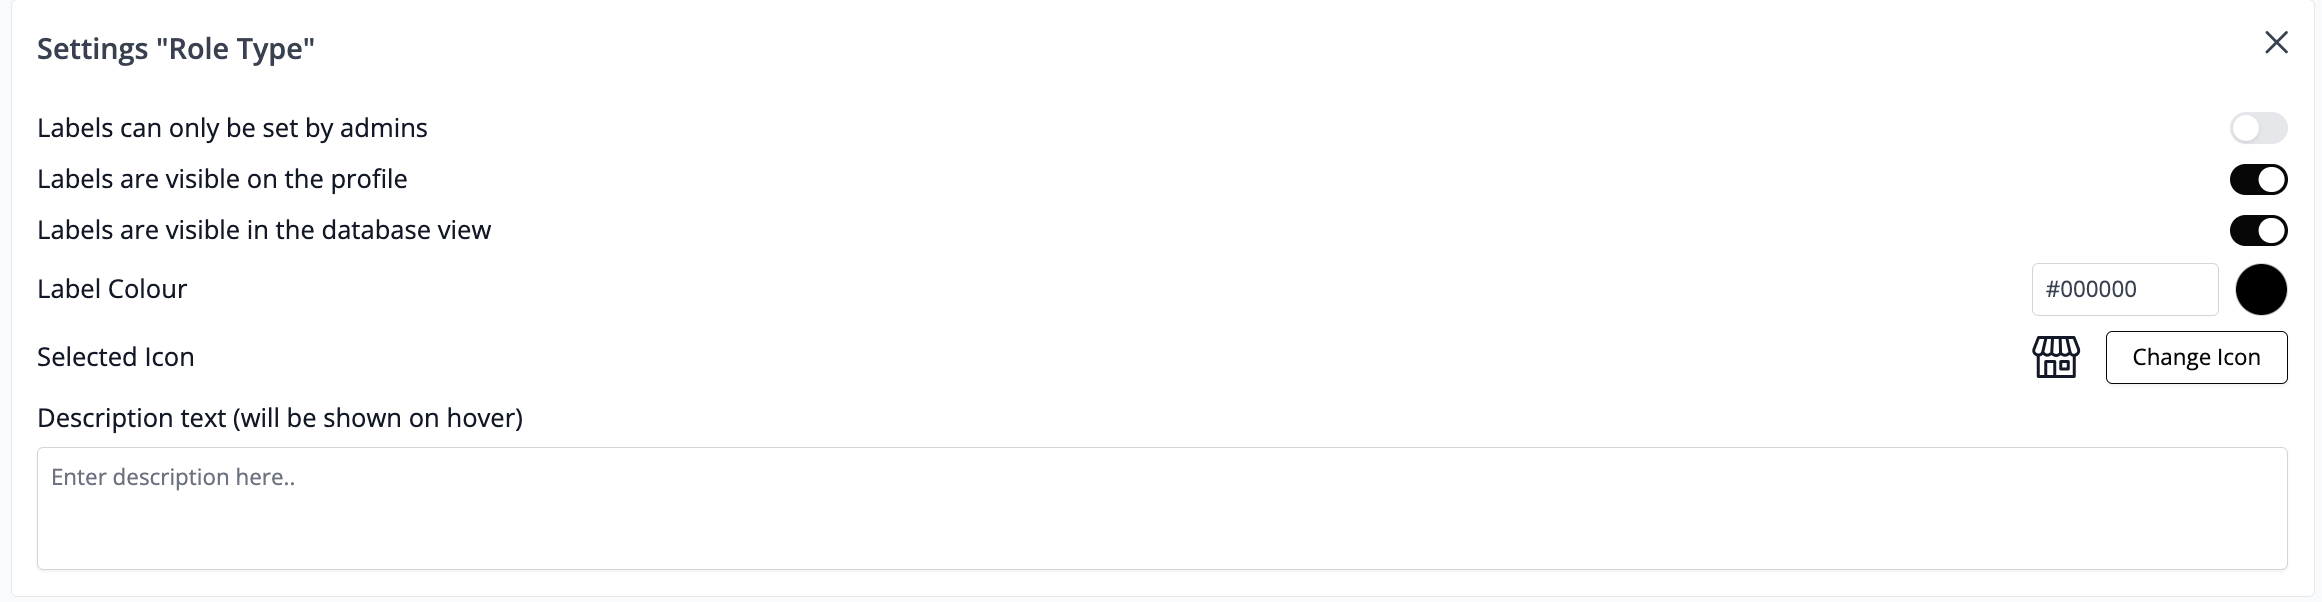
On the Labels page, navigate to the bottom and click “+ Label Group”. Enter the title of the Label group you want to create. We have established "Role Type" as a Label group to enable Users to filter vacancies using this criterion.

You can determine the visibility of these Labels by clicking the small wheel icon located in the top right corner. Upon clicking, you'll have three options to choose from.
Use Labels to create Filters
Following the steps mentioned earlier, create the Label as instructed and then proceed to the “Filters” section within the Database tab. From there, enable the filter you wish to incorporate into the Offers database.

Manage Offer Matching
In the "Matching" tab, determine whether automated matching should be enabled on your platform and whether matchmaking should extend across other LoftOS platforms.
If cross-platform matching is activated, users will receive matches not only from within the platform but also from other platforms. This greatly expands the User's reach and potential connections.